Viral Sherpa Ghost
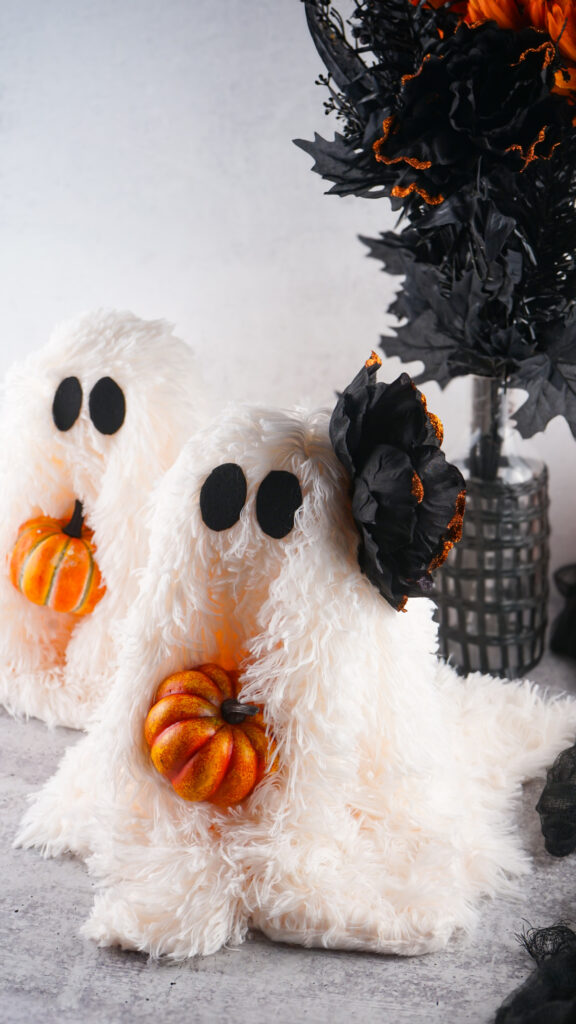
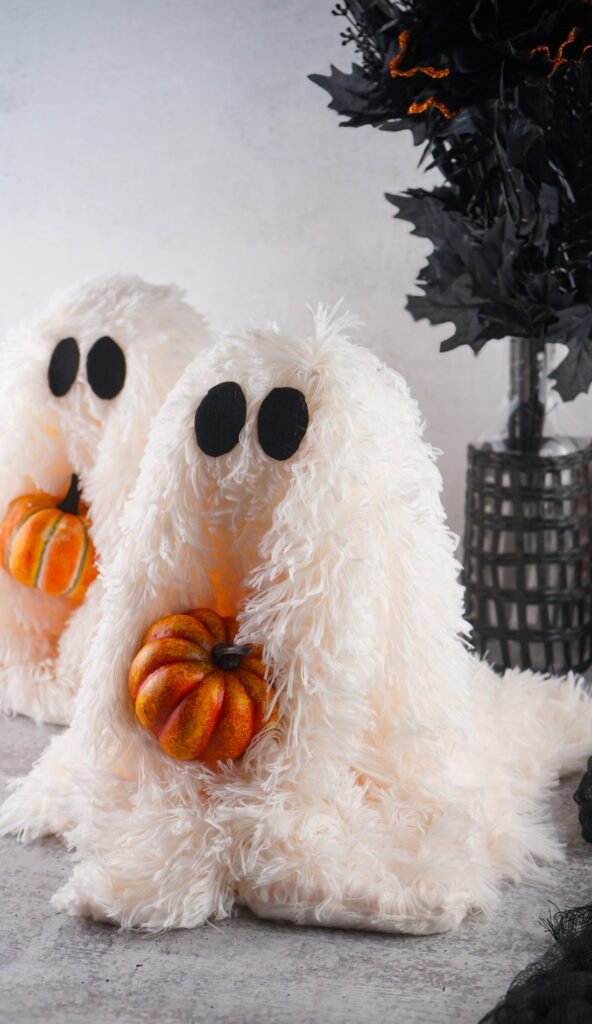
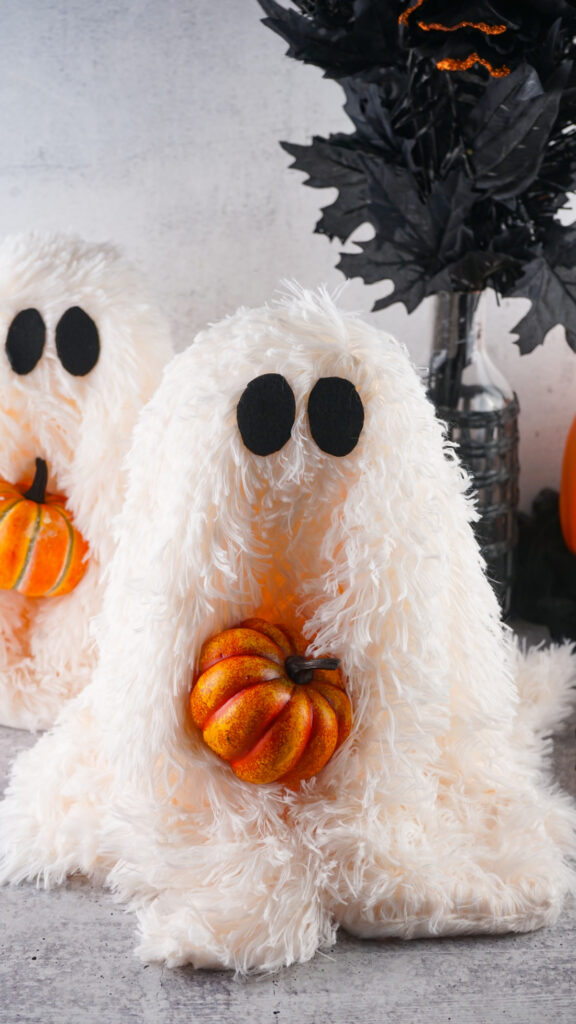
The Viral Sherpa Ghost has been everywhere lately, and after seeing these fluffy little ghosts over and over again, I knew I wanted to make one myself. I mean, look at him holding his little pumpkin! The best part is that this is one of those Halloween crafts that looks like you spent much more time and money on it than you actually did.
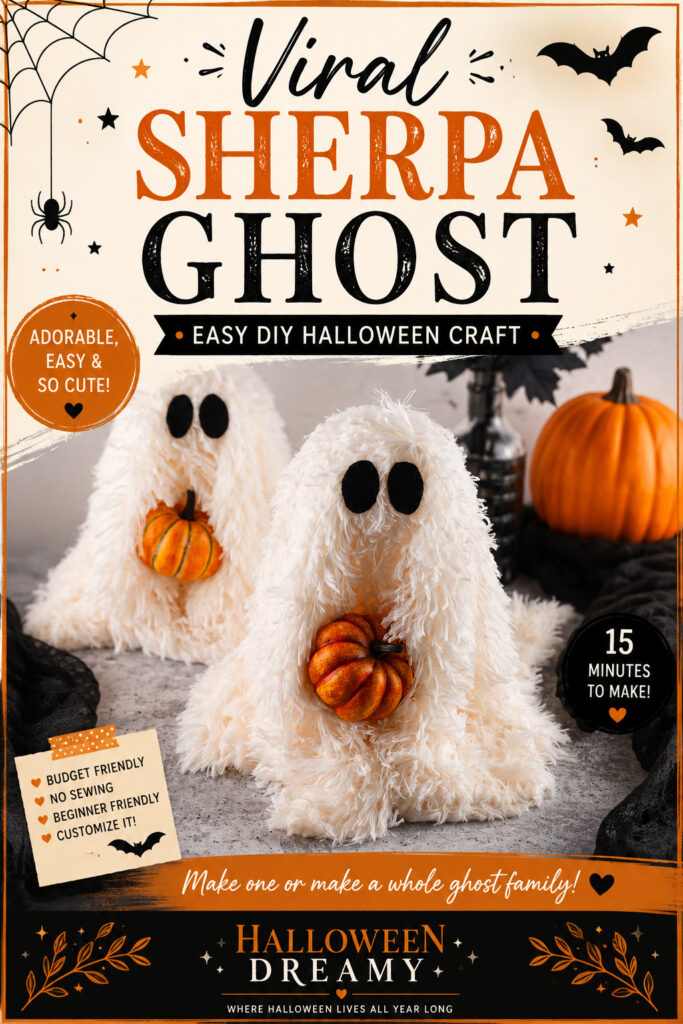
This DIY Sherpa Ghost takes about 15 minutes to make, uses only a handful of supplies, and you can find inexpensive options for many of them. I also love that you don’t have to be an experienced crafter to make one. If you can use a hot glue gun, cut out two felt eyes, and arrange some fabric, you can make this little guy.
Mine is approximately 9.8 inches tall and holds a small pumpkin between folds of fluffy white sherpa. You can make yours exactly like mine or change the accessories and give your ghost a completely different personality.
What Is a Viral Sherpa Ghost?
A Viral Sherpa Ghost is a DIY Halloween decoration made using a Styrofoam cone and ball covered with soft white sherpa fabric. Black felt ovals create the eyes, while folds in the sherpa look like little ghost hands that can hold a miniature pumpkin or another small accessory.
It’s simple, inexpensive, and really cute, which explains why this Halloween ghost craft has become so popular.
One thing I especially like is that it doesn’t have to look homemade in a bad way. Using the right sherpa makes a big difference. When it’s finished and sitting with your Halloween decorations, it looks like something you could have picked up at a home decor store.
Reasons Why You’ll Love This Viral Sherpa Ghost
- It only takes about 15 minutes to make.
- You don’t need a lot of craft supplies.
- It’s beginner friendly.
- Many of the supplies can be found inexpensively.
- There’s no sewing required when using precut sherpa fabric.
- You can customize the ghost with different accessories.
- You can make several sizes for a cute Halloween display.
- The sherpa doesn’t have to be glued to the body, making storage easier.
- It’s an easy viral Halloween craft you can actually recreate at home.
Supplies You’ll Need
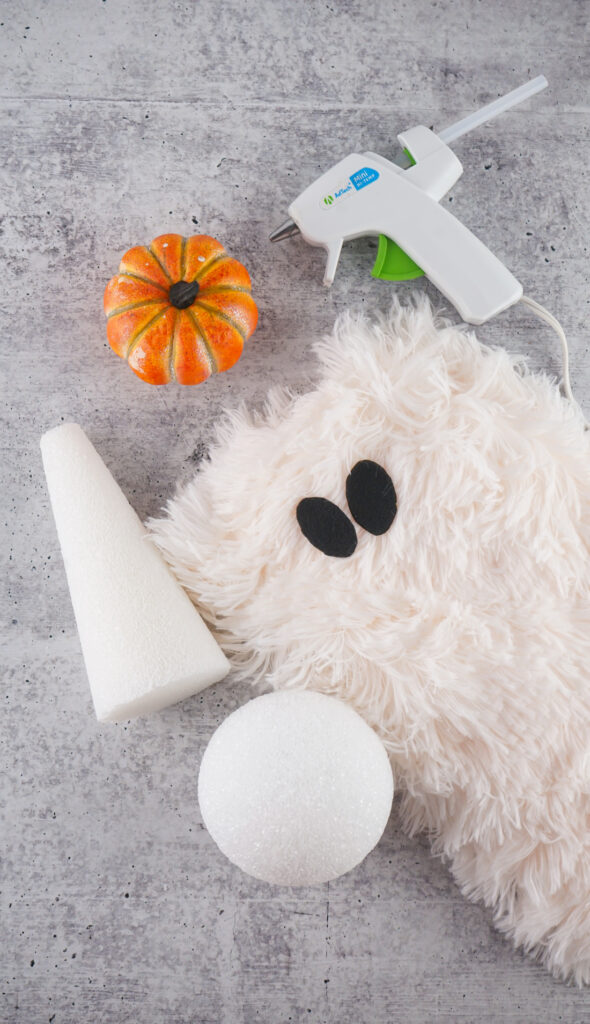
To make one Viral Sherpa Ghost approximately 9.8 inches tall, you’ll need:
- 1 6 inch Styrofoam cone
- 1 3.8 inch Styrofoam ball
- 1 26 inch by 26 inch piece of white sherpa material, or something similar
- 1 small fake pumpkin
- 2 1 ½ inch black felt ovals
- 1 glue stick
- Hot glue gun
I cut my eyes from an inexpensive black felt sheet. There’s no reason to buy anything fancy for this part.
How to Make a Viral Sherpa Ghost
Step 1: Get Everything Ready
Plug in your hot glue gun, insert a glue stick, and let it heat up.
If you haven’t cut out the two black felt ovals for your ghost’s eyes, you can do that while you’re waiting.
Having everything ready before you start makes this DIY Halloween ghost come together really quickly.
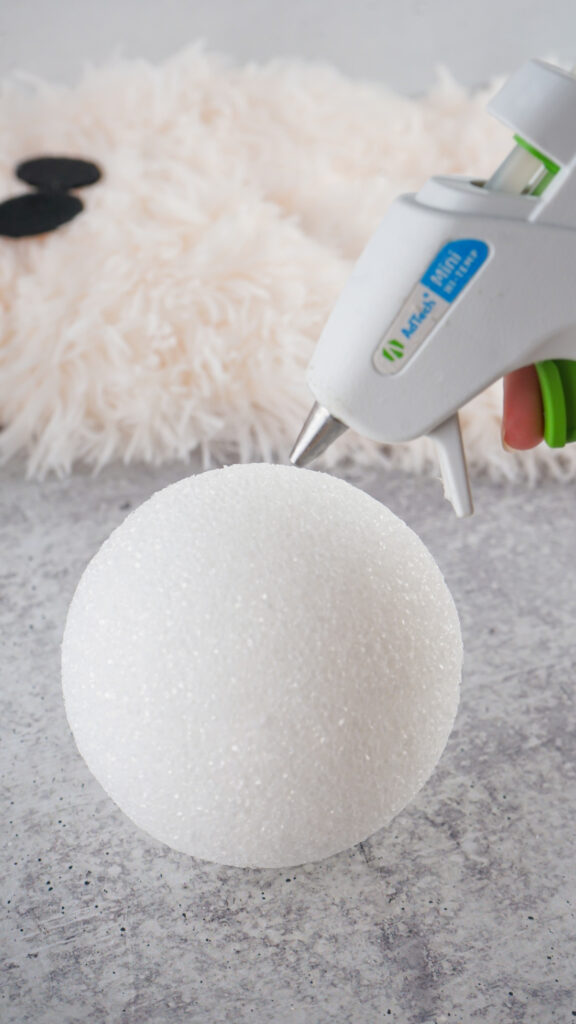
Step 2: Make the Ghost’s Body
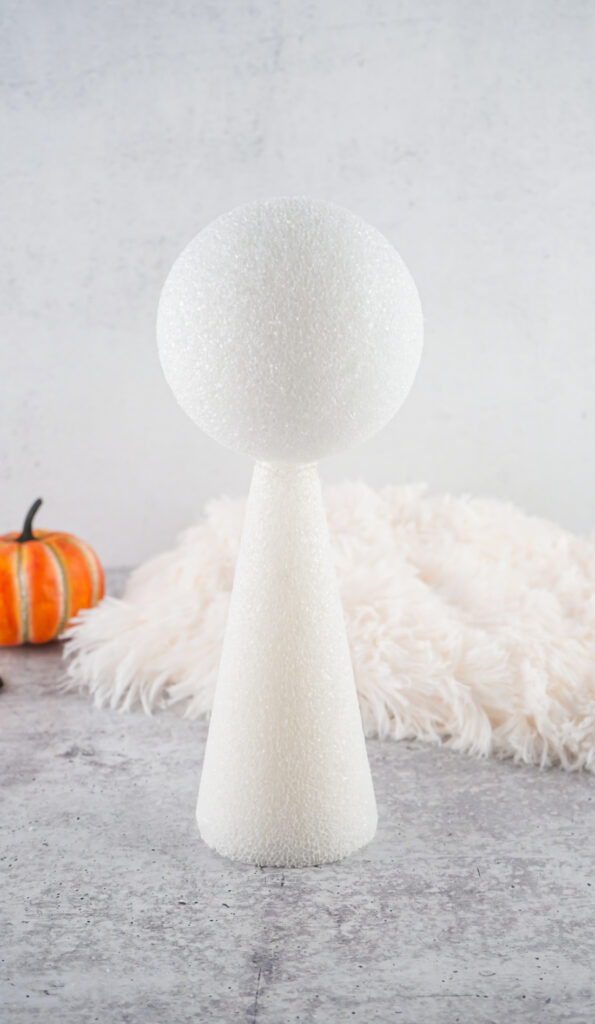
Glue the Styrofoam ball onto the top of the Styrofoam cone, making sure it’s centered.
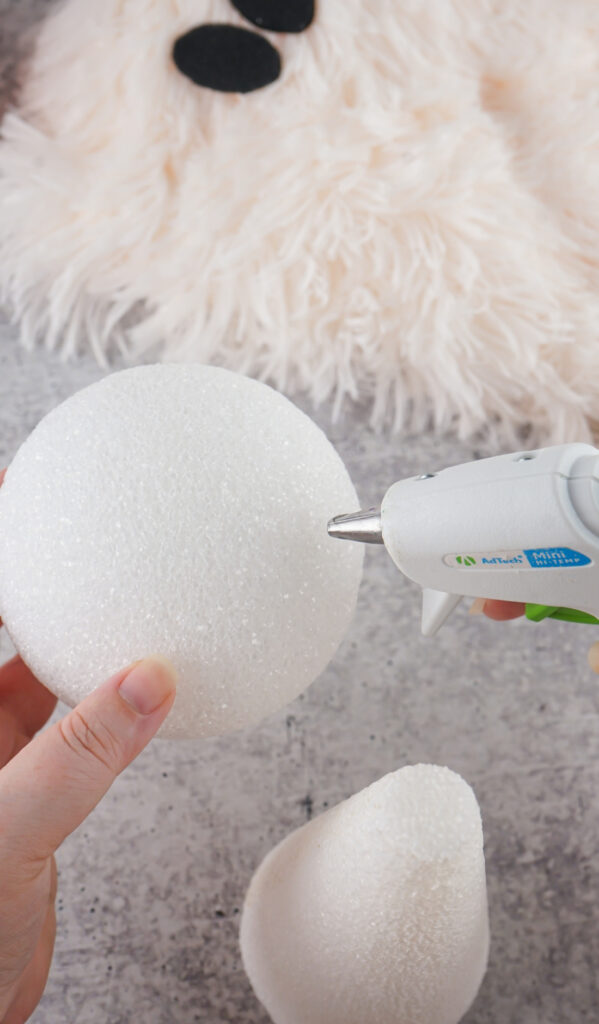
Gently press down on the ball for about 30 seconds to help it stay securely in place. Then give the glue another minute or so to dry.
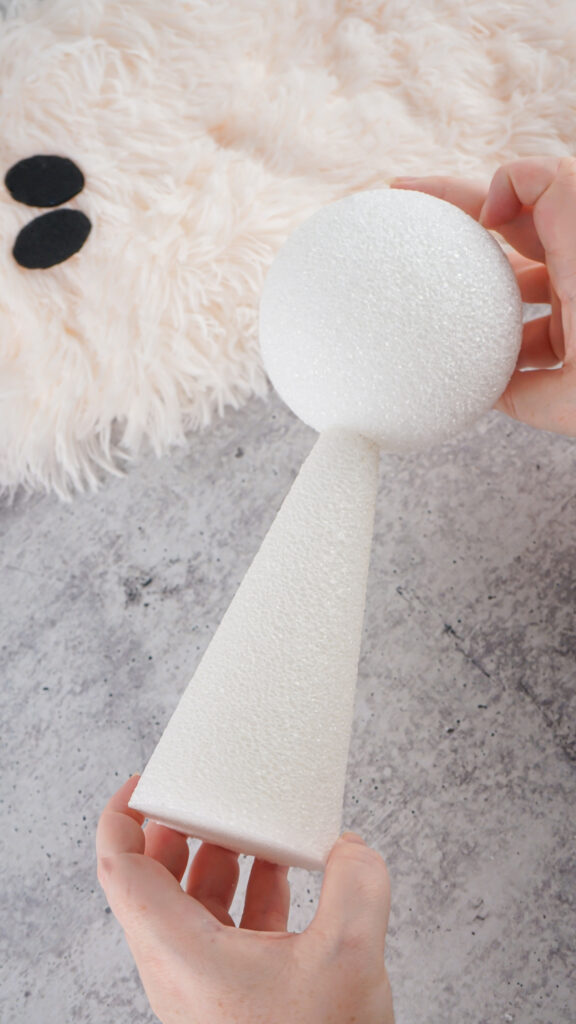
Make sure you’re using a cone with a flat top. If you already bought one with a pointed top, you can carefully cut the tip off to create a flat surface for the ball.
Step 3: Add the Sherpa
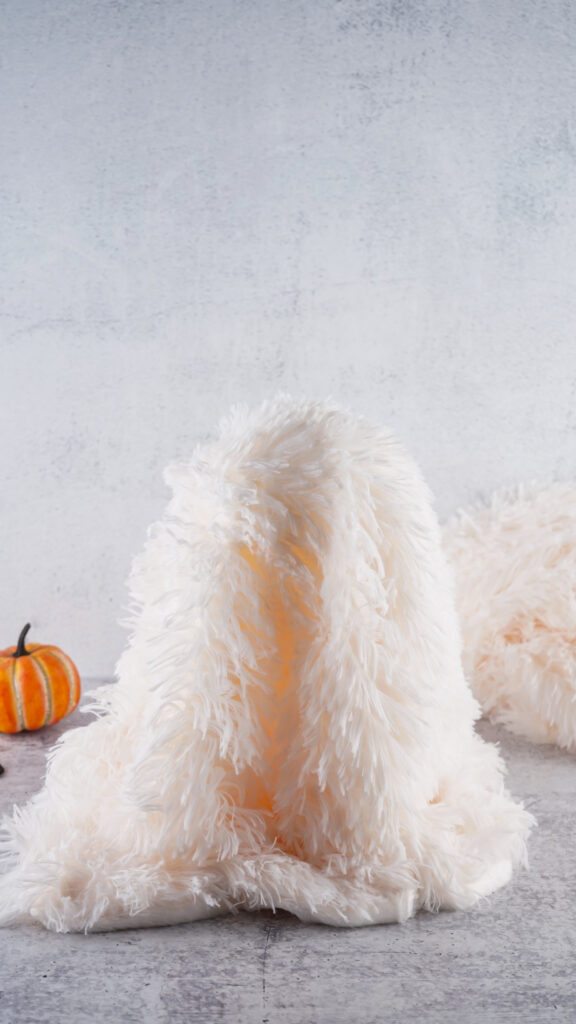
Evenly drape your white sherpa material over the ball and cone.
Move it around until the material hangs evenly on all sides. Be careful while adjusting it because you don’t want to pull too hard and loosen the Styrofoam pieces you just glued together.
Here’s something I do differently. I don’t glue my sherpa onto the Styrofoam.
It really doesn’t need it. The material is heavy enough to stay where you put it, and leaving it loose makes storing the ghost so much easier after Halloween.
Step 4: Make His Little Hands
Now we get to the part that really makes him cute.
Make two folds in the sherpa down the front sides of your ghost. These folds are going to act like his little hands holding the pumpkin.
You don’t need to glue the folds. You’re really just moving the fabric around until the pumpkin sits where you want it.
Step 5: Add the Pumpkin
Place your small pumpkin between the two folds.
Move it around a little until it looks like your ghost is actually holding it.
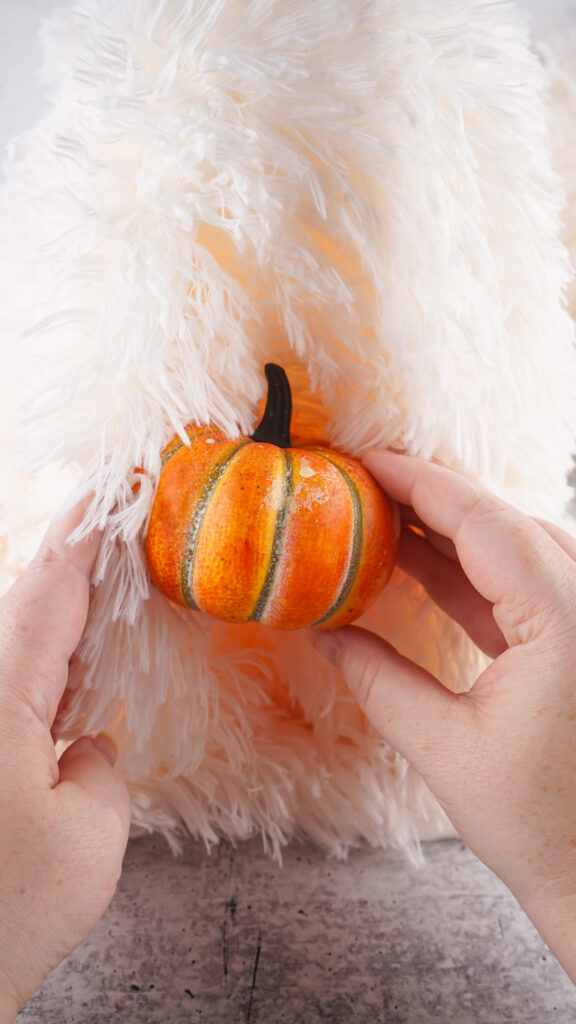
Once you’re happy with the position, add hot glue to one side of the pumpkin and press the sherpa against it. Repeat on the other side.
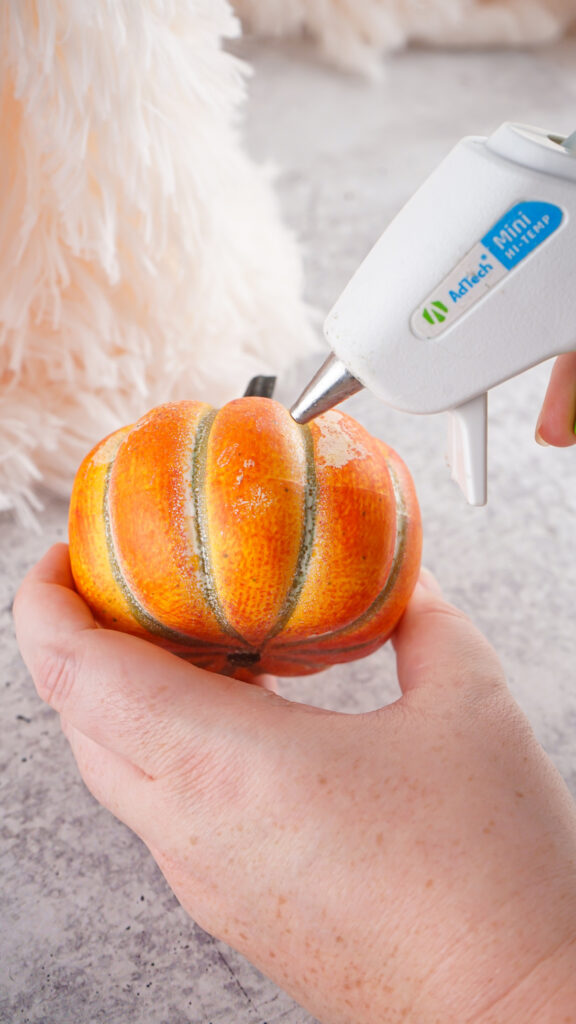
Hold the fabric against the glued areas for about 20 to 30 seconds.
Once the glue is secure, your ghost will look like he’s holding the pumpkin between his little sherpa hands.
Step 6: Give Your Ghost a Face
Add a small dab of hot glue to the back of one black felt oval and place it near the upper middle of the ghost where the Styrofoam ball is underneath.
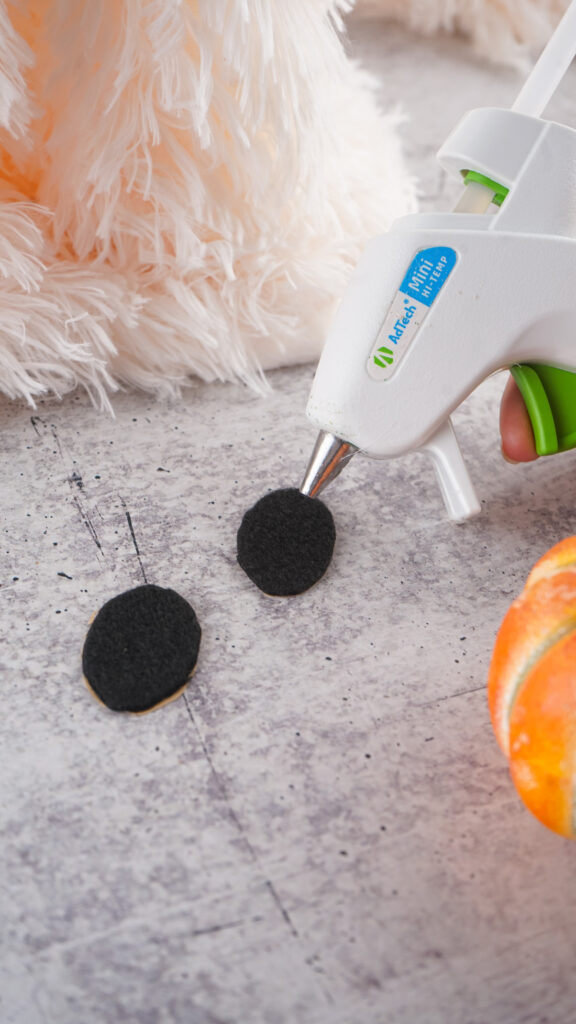
Press it down for about 20 to 30 seconds.
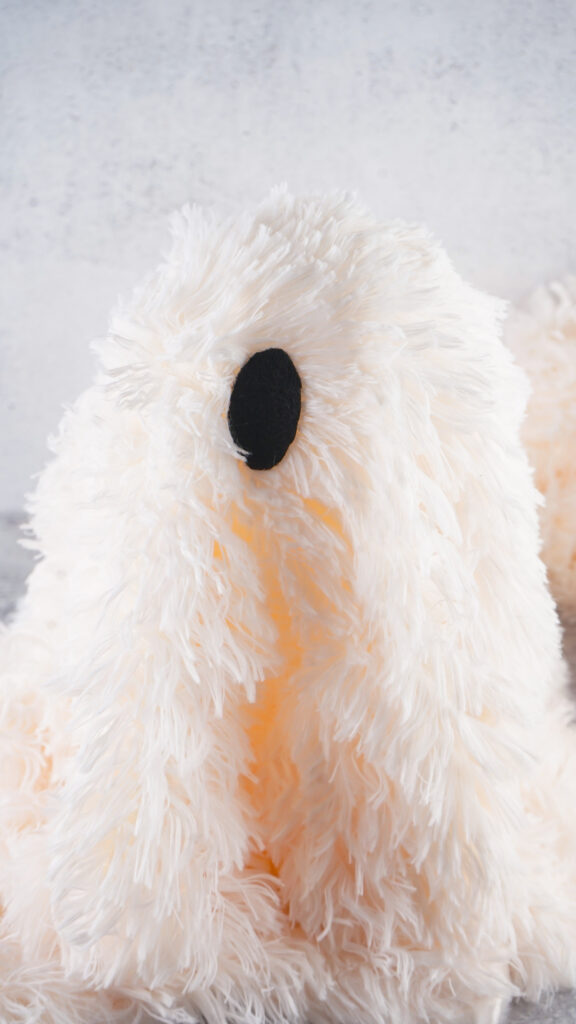
Repeat with the second eye.
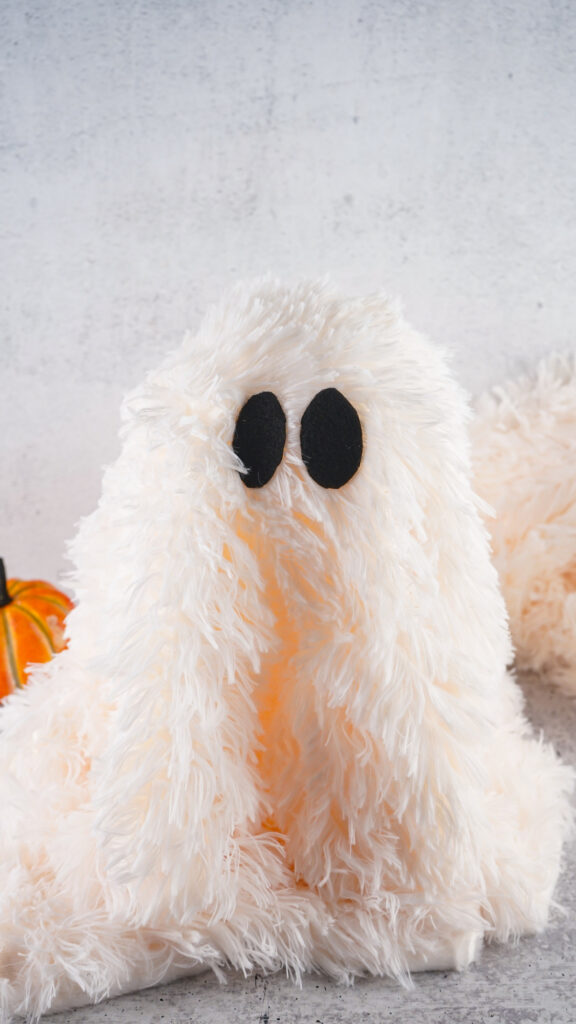
I actually think the simple black oval eyes are part of what makes these ghosts so cute. You don’t need a mouth or anything else.
Once the eyes are secure, your Viral Sherpa Ghost is ready to display.
My Tips for Making the Best DIY Sherpa Ghost
I used a 26 inch square of sherpa because I like the way the extra fabric hangs. You can use a 24 inch square, but the larger piece gives you more material to move around when you’re making the hands and positioning the pumpkin. I also think it gives the finished ghost a fuller look.
You may have seen people making these with sherpa car cleaning cloths from the dollar store. They definitely work and are probably one of the cheapest ways to make this craft.
I tried that route and wasn’t crazy about it. It looked okay in videos, but in person, I thought it was a little underwhelming. That’s completely a personal preference, though. You might use one and love it.
Another inexpensive option is a sherpa throw blanket, especially if you find one on sale. Just remember that many sherpa blankets have two layers. Once you cut the blanket, you may end up with unfinished edges that need to be sewn or glued.
If you don’t want to deal with that, position the finished edge toward the front and leave the unfinished area toward the back where no one will really see it.
Can I Make a Bigger Sherpa Ghost?
Yes!
You can use a taller Styrofoam cone, but you’ll need a larger piece of sherpa.
Once the Styrofoam ball is attached, measure from the top center of the ball down to the bottom of the cone. Add one inch to that measurement and then double it. That gives you the approximate square size of sherpa you’ll need.
The height of the cone is more important than its width when figuring out how much material to use.
You could make two or three different sizes and group them together. I love the idea of having a whole little ghost family sitting together with pumpkins around them.
Ways to Customize Your Viral Sherpa Ghost
The pumpkin doesn’t have to stay!
That’s another reason I like this craft so much. Once you understand how it’s put together, you can start changing things around.
Instead of a pumpkin, your ghost could hold:
- A miniature wooden spoon for a baker ghost
- A tiny stuffed animal
- A small Halloween sign
- Flowers
- A little trick or treat bucket
You can also add a miniature hat, bow, or other small accessory.
This would be really cute if you made several ghosts and gave each one a different look.
How to Store Your Sherpa Ghost
I definitely don’t want my white sherpa coming out of the Halloween storage tub next year stained or completely wrinkled.
That’s another reason I leave the sherpa unattached.
When Halloween is over, remove the sherpa and fold it neatly. I like putting mine inside a bag before laying it flat in my Halloween storage tub. The Styrofoam pieces can go into the tub with the rest of the decorations.
Next Halloween, take everything back out, drape the sherpa over the ghost, fix his pumpkin and hands, and he’s ready again.
If ghosts are taking over your Halloween decorating too, see my Ghost Vase and Vintage Halloween Decor Ideas for more ways to use them. For general consumer-product safety guidance, the U.S. Consumer Product Safety Commission is a reliable resource.
Viral Sherpa Ghost FAQs
How long does a Viral Sherpa Ghost take to make?
It takes about 15 minutes to assemble, plus a few minutes for the hot glue to completely set.
How tall is this DIY Sherpa Ghost?
Using a 6 inch Styrofoam cone and a 3.8 inch Styrofoam ball makes a ghost approximately 9.8 inches tall.
Do I have to glue the sherpa onto the ghost?
No. I don’t glue mine to the Styrofoam. The fabric stays in place on its own, and leaving it unattached makes storage much easier.
Can I use a sherpa blanket?
Yes. An inexpensive sherpa throw can work, but keep in mind that many blankets contain two layers. Cutting them can leave unfinished edges that may need to be glued or sewn.
Can I use self-adhesive felt for the eyes?
Yes. Sticky felt eyes can work, although I prefer using hot glue because I think they’ll hold up better through storage.
What can my Sherpa Ghost hold besides a pumpkin?
You can use almost any lightweight miniature accessory. Try a wooden spoon, small stuffed animal, flowers, Halloween sign, or another seasonal decoration.
I can completely understand why this Viral Sherpa Ghost took off online. He’s fluffy, he’s holding the cutest little pumpkin, and you can make him in hardly any time at all.
What I really like is how easy it is to change the little details and make each one different. I already know I’m going to be making more of these because one little sherpa ghost just isn’t enough.
Viral Sherpa Ghost Craft

Viral Sherpa Ghost
Equipment
- 1 6-Inch Styrofoam Cone
- 1 3.8” Styrofoam Ball
- 26” X 26” White Sherpa Material (or similar)
- 1 Fake Small Pumpkin (I used the largest pumpkins shown in the product link)
- (2) 1 ½ -Inch Black Felt Ovals
- 1 Glue Stick (for glue gun)
- Hot Glue Gun
Instructions
- Plugin your glue gun, insert a glue stick, and let it heat up.
- If you haven’t cut out your 1-inch black felt ovals for the eyes yet, do that now.
- Once you have everything out and ready to assemble, glue the styrofoam ball to the top of the cone. Make sure it’s centered. Press down on it gently for about 30 seconds to help it dry more securely. Give it a minute or so to dry fully.
- Evenly drape the piece of sherpa material over the top of the ball and cone. It should be hanging evenly on all sides. While adjusting the material, be careful to not yank around the styrofoam parts too hard. I do not normally secure the material in any way as it’s heavy enough not to move once it’s been set and makes things easier for storage after the season is over.
- Make two folds in the material down both sides, but in the front of the ghost. These will act as hands to hold the pumpkin and don’t need to be glued in place. You’re just rearranging the fabric to position the pumpkin properly.
- Place the pumpkin in between the folds, like the ghost has hands and is holding the pumpkin. Once you’ve found how you like the pumpkin positioned, place glue on one side of the pumpkin at a time, and press it into the spot where you want the pumpkin to rest. Repeat with the other side of the pumpkin. Press the material against the pumpkin, where it’s glued, for at least 20-30 seconds.
- Place a dab of glue on the back of one black felt oval at a time and press the glued side onto the sherpa material, near the top middle of where the styrofoam ball sits. Repeat with the other eye. As you glue each eye, be sure to press and hold it for the first 20-30 seconds of drying.
- Position your ghost where you would like it displayed and enjoy!