Ghost Vase: An Easy DIY Halloween Centerpiece
There are some Halloween crafts that I have completely planned out in my head before I start, and then there are projects that seem to come together as I am making them. This Ghost Vase was definitely one of those. I knew I wanted the little ghosts inside the clear vase, but once I added the black velvet roses, white flowers, greenery, and black feathers, I really loved how everything looked together.
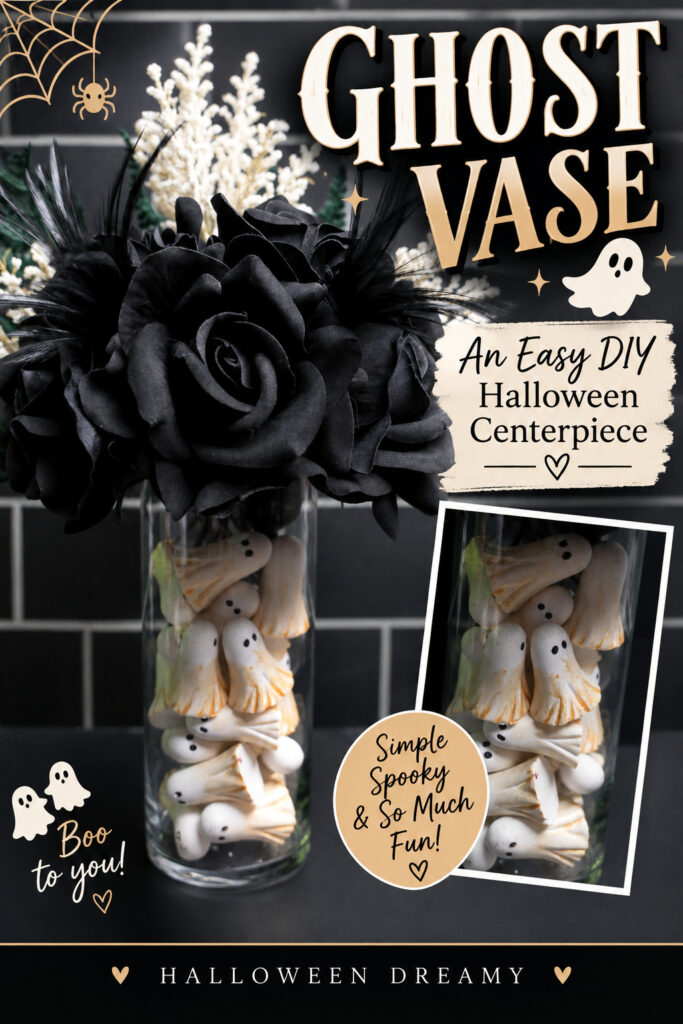
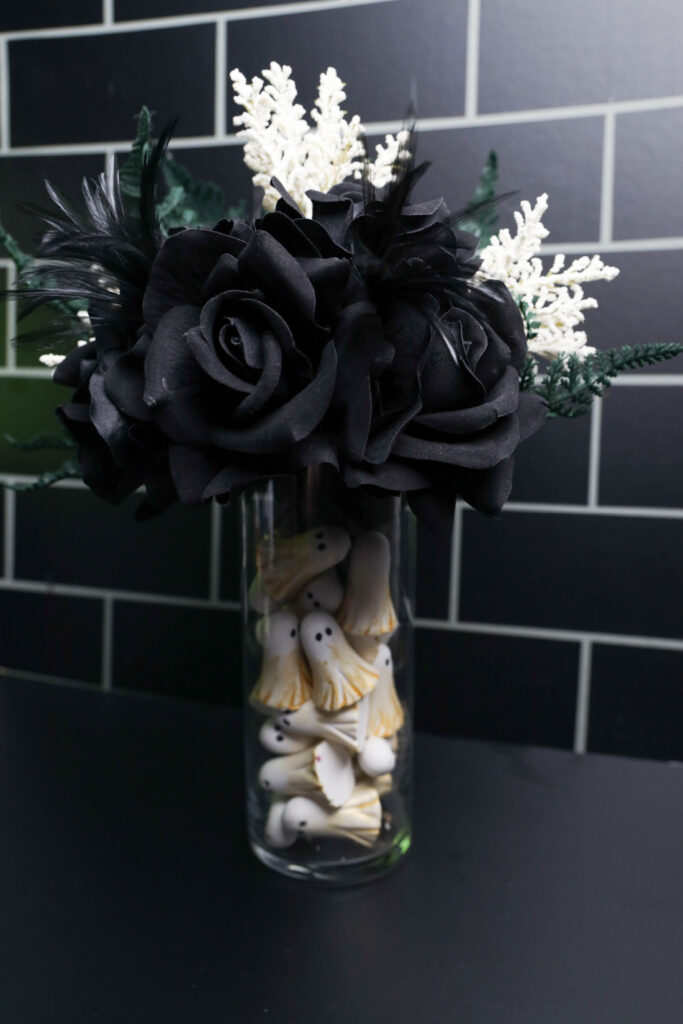
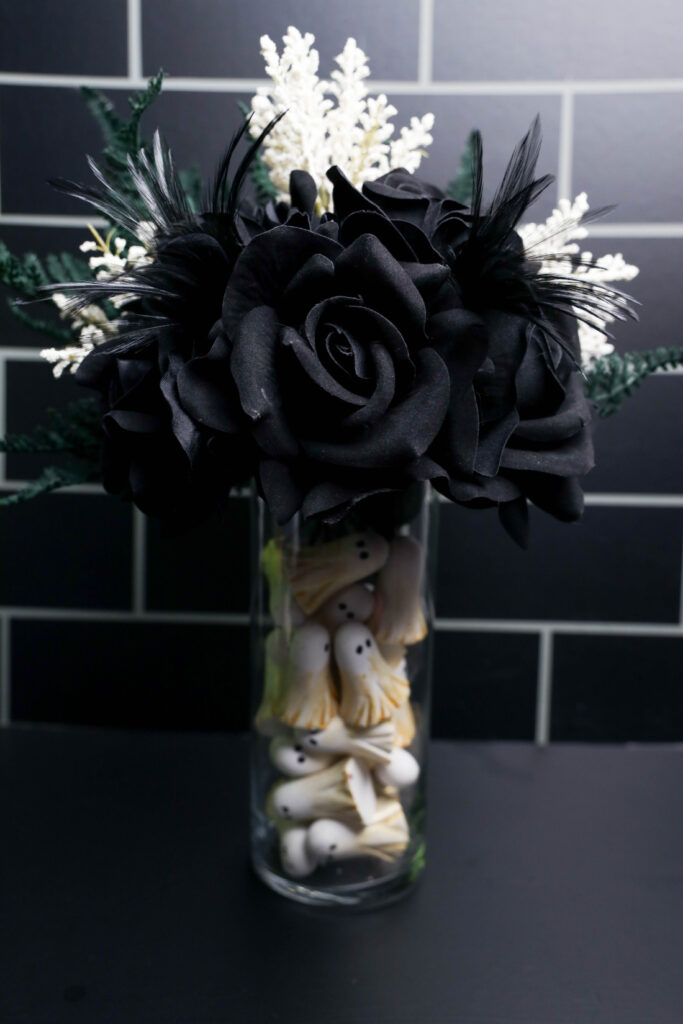
My favorite part is what happens when you get a little closer. At first, it looks like a black and white Halloween floral arrangement. Then you notice all those tiny ghosts peeking through the glass. I love that little surprise.
I added metallic gold to the bottom of the ghosts, too. It is just enough to give them a little extra detail without covering all that white. Between the gold, black roses, white flowers, and those cute ghost faces, this DIY Halloween centerpiece ended up being exactly the kind of Halloween decoration I love.
Supplies You’ll Need for a Ghost Vase
I used a clear glass vase for this project because the ghosts aren’t just filler. They are one of the main parts of the finished Halloween decoration, so you definitely want to be able to see them.
You will need:
- 2 packs of 2-inch DIY Resin Ghost Décor, 12 count
- FolkArt Multi Surface Metallic Acrylic Paint in Bright Gold
- Black Sharpie Creative Marker with brush tip
- 6 cotton balls
- Clear glass vase
- 16.5-inch black velvet rose bush
- 2 flocked fern picks, 12 inches each
- 2 feather picks, 15.75 inches each
- 3 white accent florals
You can change the flowers or greenery to work with the Halloween decorations you already have. If you use a different size vase, you may also need more or fewer ghosts.
How to Make a Halloween Ghost Vase
This Halloween craft is pretty simple to put together. Most of your time will be spent decorating the ghosts and letting the paint dry before you fill the vase.
Step 1: Add the Ghost Faces
Start with the little resin ghosts and use the black Sharpie Creative Marker to color in their eyes.
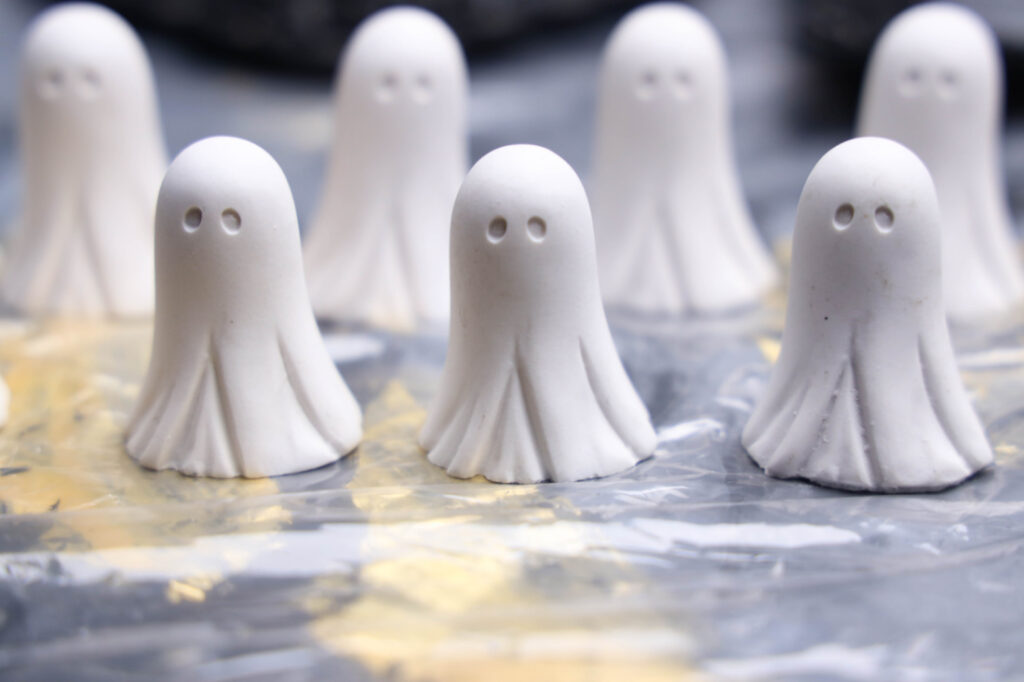
Don’t worry about making every single one look exactly the same. Once they are stacked inside the vase, they will be sitting at different angles anyway.
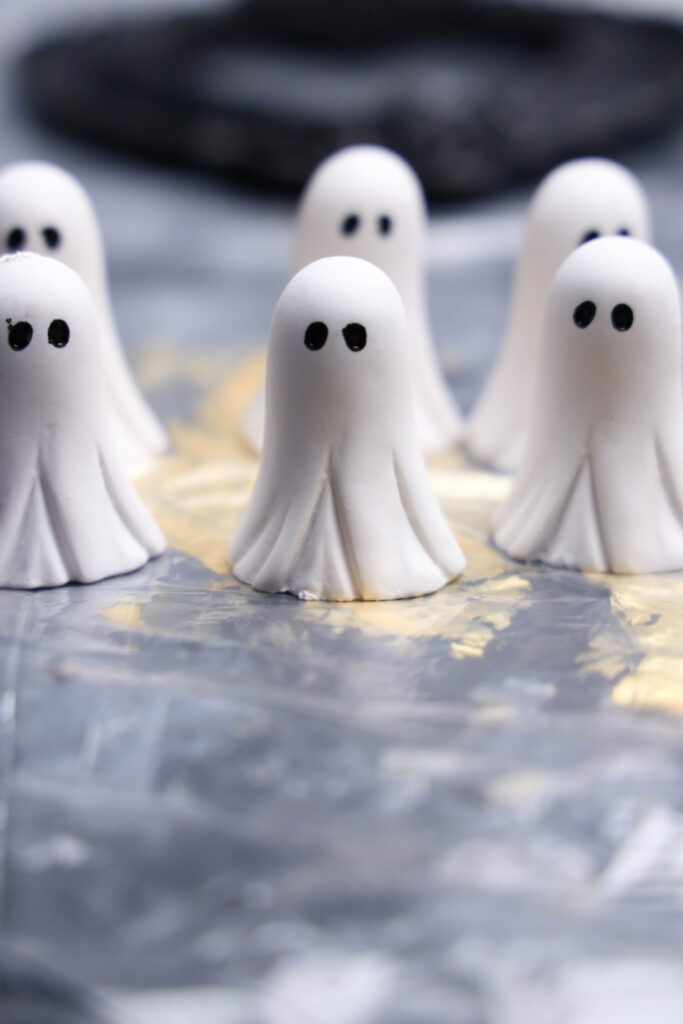
I think the slightly different faces make them even cuter when you start seeing them peeking out through the glass.
Step 2: Add the Metallic Gold
Next, add a small amount of the metallic gold acrylic paint to a cotton ball.
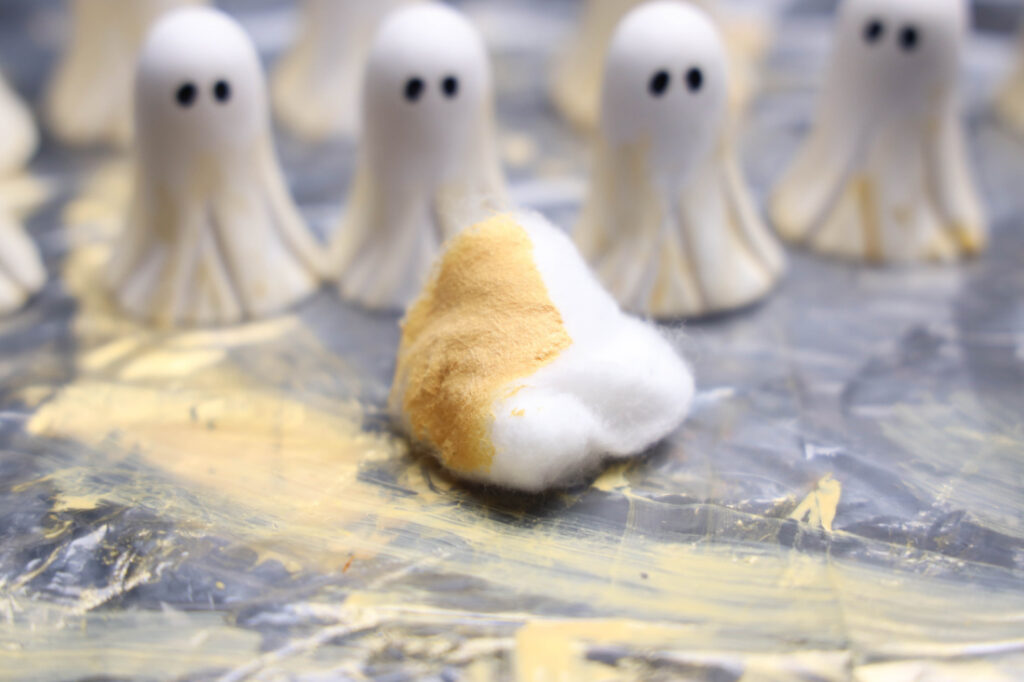
Lightly rub the gold along the bottom of each ghost. Let the first coat dry, then add a second coat. You will probably need several cotton balls while you work your way through all of the ghosts.
I would start with a small amount of paint. You can always add more with the second coat. I wanted the gold to be an accent rather than completely covering the bottom of the ghosts.
Once the second coat is finished, let everything dry completely before putting the ghosts into your vase.
Step 3: Fill the Vase
Now you can start filling the clear glass vase with your ghosts.
Stack them in different directions, making sure to turn plenty of the faces toward the glass.
You don’t need perfect rows. Actually, I think the ghosts look much better when they are piled together in different directions. Some can sit upright, while others can lean to one side.
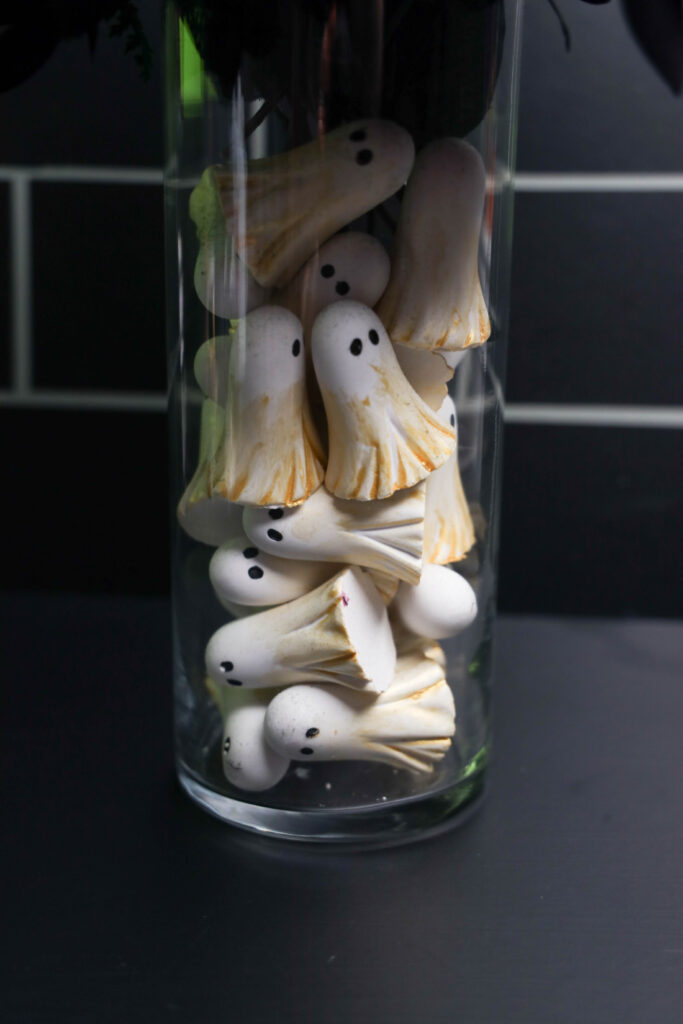
Turn the vase around every once in a while as you are filling it. This makes it easier to see where you might need another ghost face showing.
This was probably my favorite part because you can really start seeing the Ghost Vase come together.
Step 4: Add the Halloween Flowers
Once the ghosts are in place, start adding your floral stems.
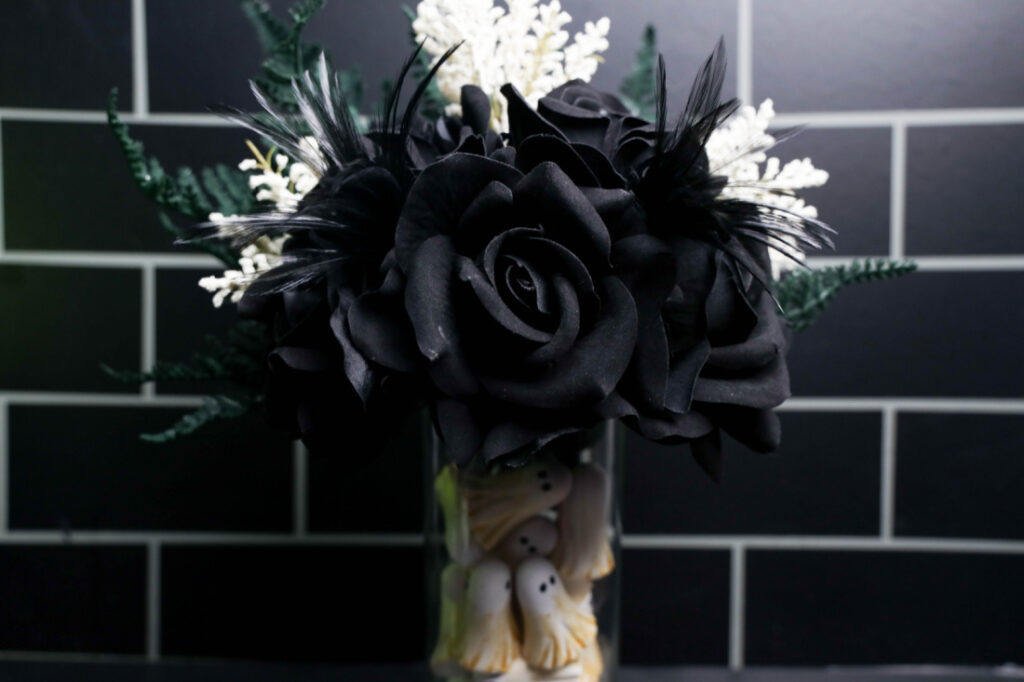
Place the black velvet roses toward the front and the green filler toward the back. Add the white accent florals, then finish the arrangement with the black feather picks.
I wanted the black roses to stand out, so I kept them toward the front where you could really see them. The white flowers add height and break up some of the darker colors, while the greenery fills in the arrangement.
And I really like the black feathers. They add texture and a little more drama without taking attention away from the roses or the ghosts.
Move your stems around until everything looks right to you. I like to step back and look at an arrangement from a few feet away, then go back and adjust anything that looks too empty or crowded.
For more ghost-themed decorating, pair this project with my Viral Sherpa Ghost, then use my Halloween Mantel Decor Ideas for display inspiration. For general craft-product safety information, the U.S. Consumer Product Safety Commission offers consumer safety resources.
Tips for Making Your DIY Ghost Vase
The biggest thing I would watch is the direction of the ghosts. As you fill the vase, make sure enough of those little faces are pointing outward. You don’t want to finish filling it only to realize most of them are facing the middle.
Also, use a light hand with the metallic gold paint. I think it looks best when you can still see plenty of white.
When you add your floral stems, don’t feel like you have to leave them exactly where you first put them. Move them around, bend them slightly if needed, and keep adjusting until you like the shape of the arrangement.
Make Your Ghost Vase Your Own
You can easily change this Halloween Ghost Vase to match your own Halloween decorations.
If gold isn’t one of your Halloween colors, leave the ghosts completely white. You could also change the flowers and use purple, orange, burgundy, or more white.
You can make the arrangement darker by adding more black florals and greenery, or make it lighter by adding more white flowers and using fewer black feathers.
The one thing I would keep is the clear glass vase. Seeing those little ghosts through the glass is what makes this Halloween centerpiece so much fun.
Where to Display Your Halloween Ghost Vase
This Ghost Vase would look great on a dining room table, kitchen island, entryway table, buffet, mantel, or Halloween party table.
I especially like it somewhere people can walk up and get a closer look. From farther away, they see the black and white Halloween floral arrangement. Then they get closer and notice an entire vase filled with little ghosts.
That is the part that makes this one different.
I Love How This Ghost Vase Turned Out
I really love how this Ghost Vase turned out. The black velvet roses and feathers give it the darker Halloween look I wanted, while those little ghosts keep the whole thing fun.
And those tiny faces peeking through the glass are still my favorite part.
It is simple enough to make in an afternoon, but once all the pieces are together, it looks like something you could have picked up already made. I think it would be such a fun addition to a Halloween party or your everyday Halloween decorations.
And I have a feeling those little ghosts are going to get plenty of second looks.
Ghost Vase Craft
Ghost Vase
Equipment
- 2 Packs – 2″ DIY Resin Ghost Décor, 12ct. by Make Market
- Folk Art Multi-Surface Metallic Acrylic Paint Bright Gold
- Black Sharpie Creative Marker Brush Tip
- 6 Cotton Balls
- Glass Vase
- 16.5″ Black Velvet Rose Bush by Ashland
- 2 – 12″ Flocked Fern Pick by Ashland
- 2 – 15.75″ Feather Pick by Ashland
- 3 – White Accent Floral
Instructions
- Using black sharpie creative marker color in the eyes black on the ghosts.
- Take a cotton ball and lightly rub one coat of gold along the bottom of the ghosts. Let dry and do a second coat. You will use several cotton balls in this process.
- Once the ghosts are dry add them to the vase stacking them in varied ways facing the glass.
- Add in roses to the front and green filler to the back. Then place in white accent floral and black feathered picks.