Recycled Wine Cork Frankenstein Craft
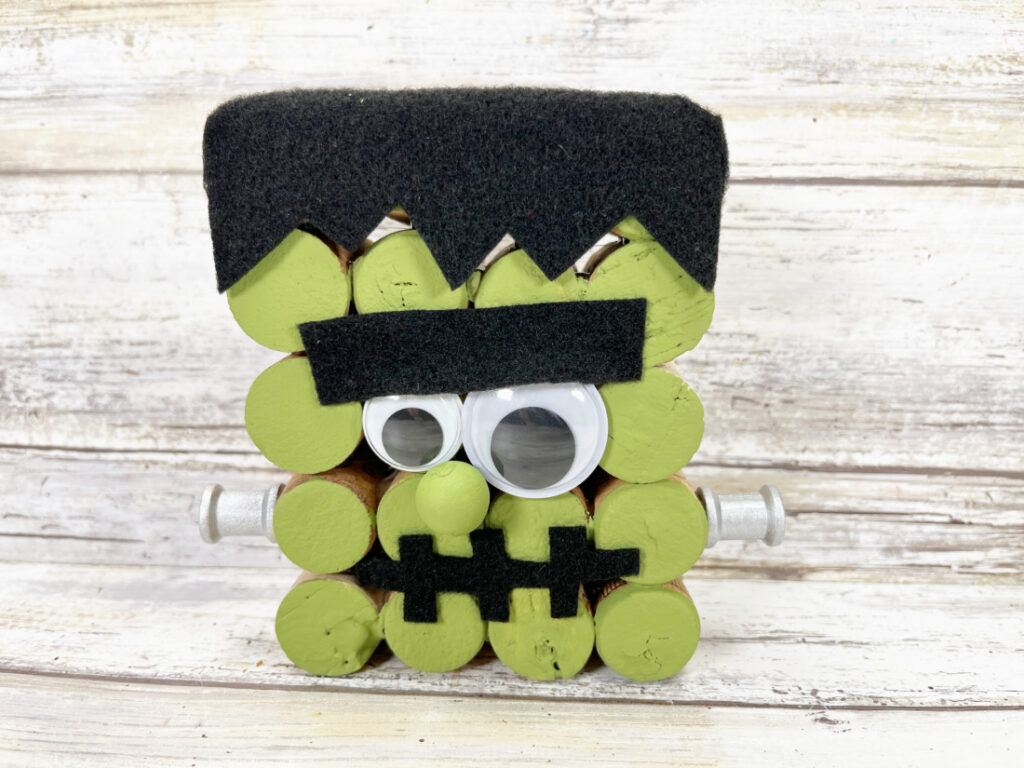
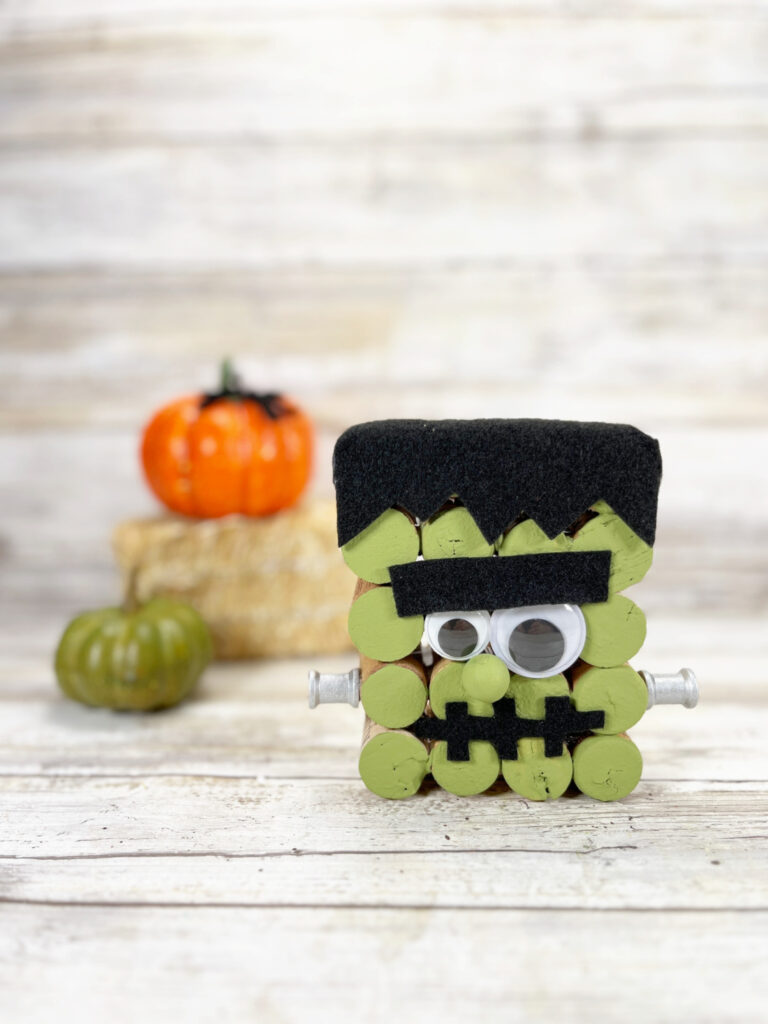
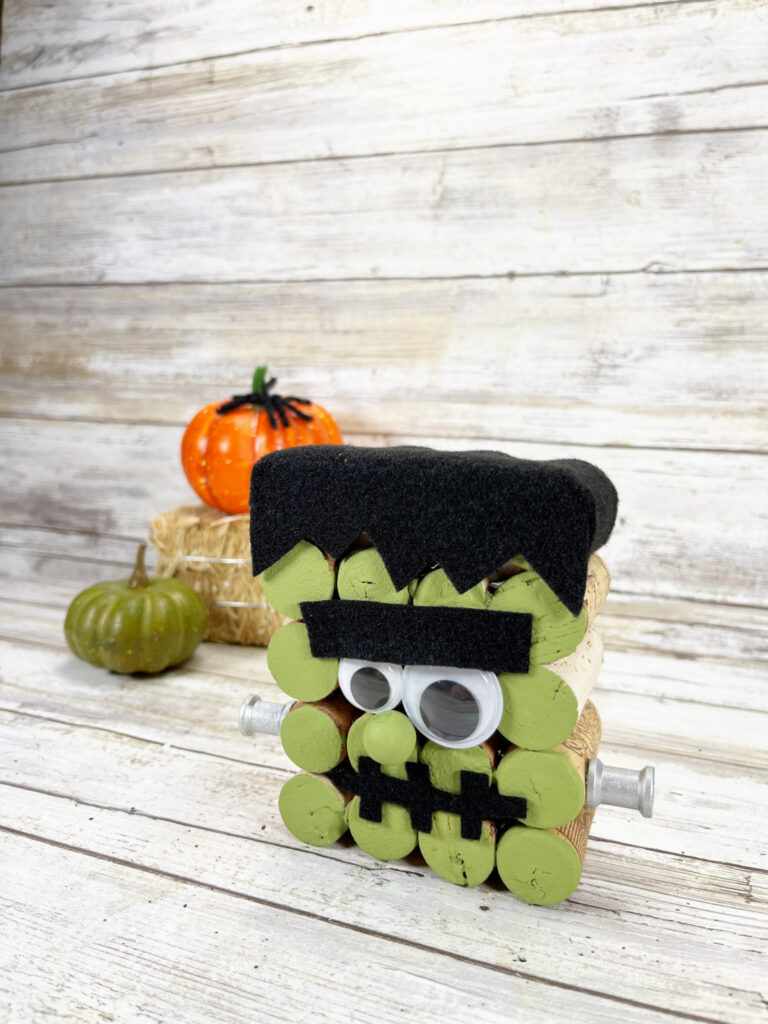
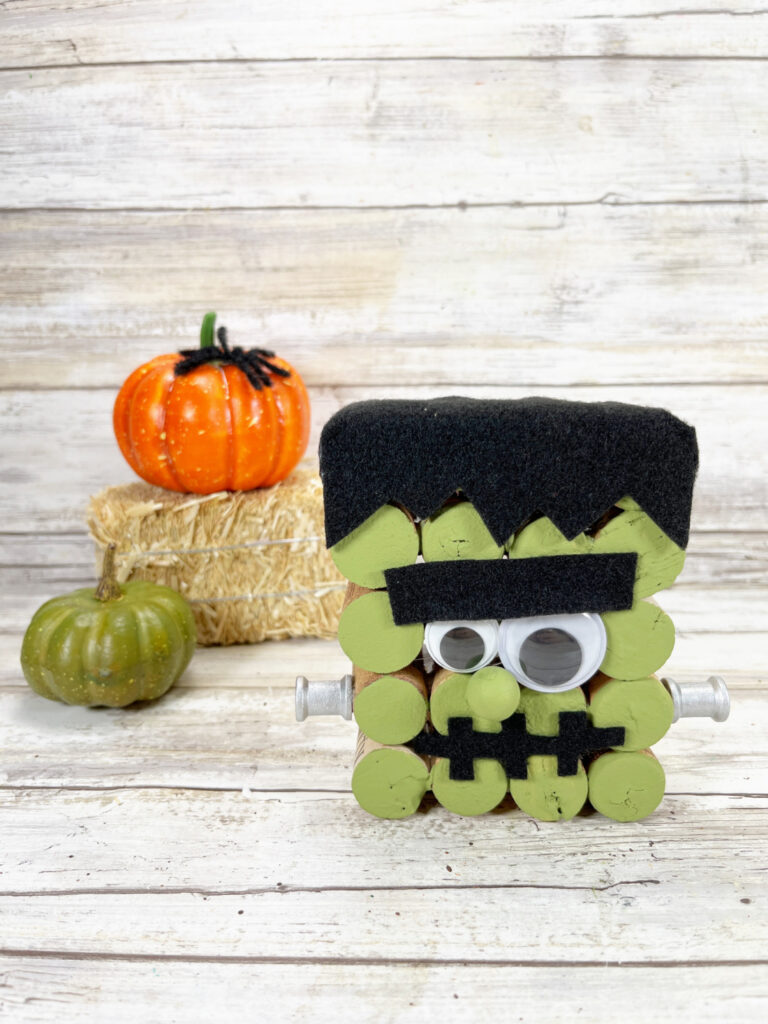
If you have been saving wine corks and wondering what to make with them, this Recycled Wine Cork Frankenstein Craft is such a fun way to put them to use. With his big eyes, crooked smile, green face, and silver neck bolts, this little guy is much more silly than scary.
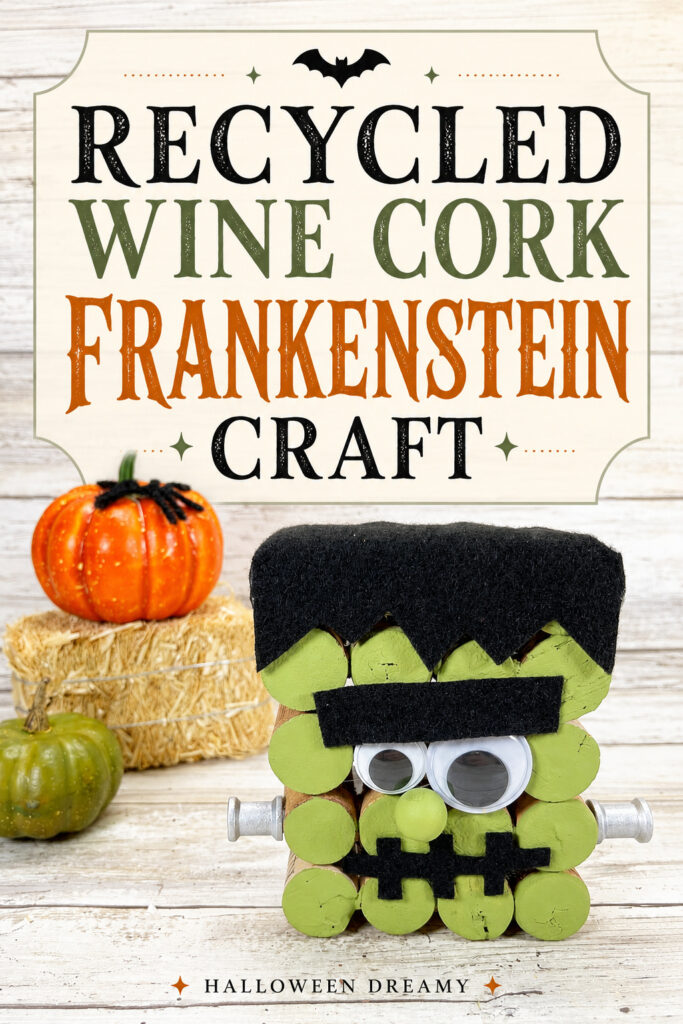
There is something so satisfying about taking an everyday item and turning it into a decoration you can bring out every Halloween. You only need 20 wine corks to make Frankenstein’s face, and the rest comes together with paint, felt, wiggle eyes, and a few small wooden pieces.
This easy Halloween craft takes about 30 minutes of active crafting time, plus drying time. When he is finished, place him on a mantel, shelf, desk, entryway table, or anywhere that could use another cute Halloween character.
Reasons Why You’ll Love This Wine Cork Frankenstein
- It gives saved wine corks a new purpose.
- You only need a few affordable craft supplies.
- It takes about 30 minutes to assemble.
- It is cute and silly instead of scary.
- You can change his expression to give him more personality.
- It is small enough to display almost anywhere.
- It makes a fun handmade gift for teachers, coworkers, neighbors, and family members.
- You can store it and enjoy it again every Halloween.
Supplies Needed
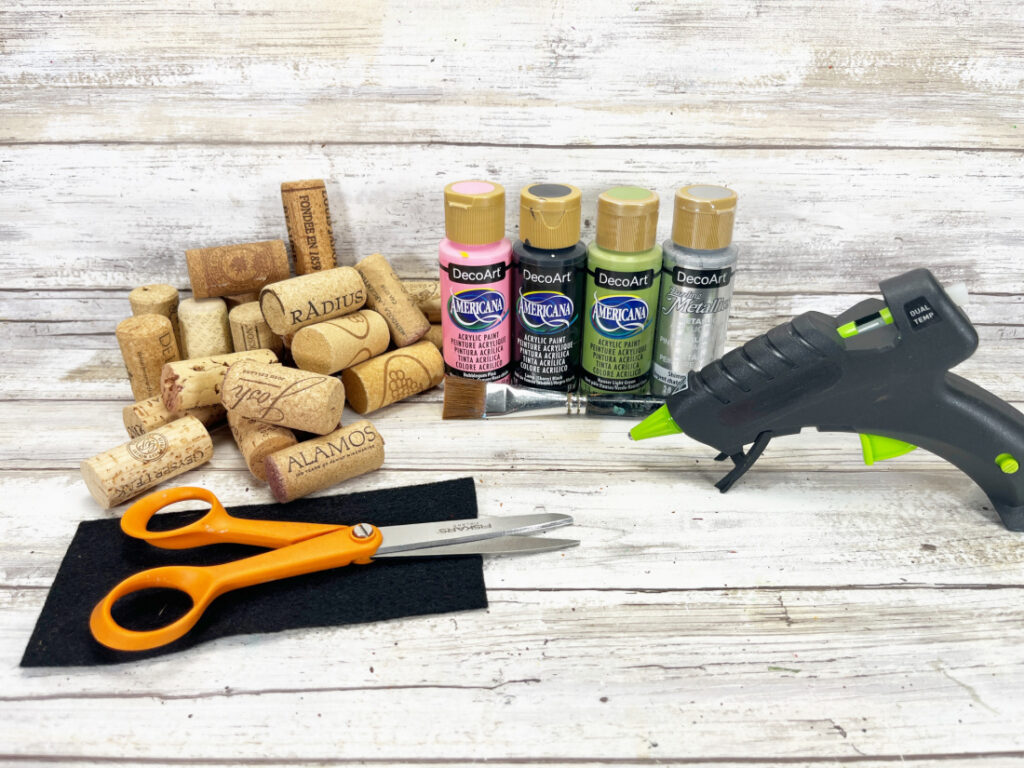
Gather your supplies and protect your work surface before you begin.
- 20 recycled wine corks
- Muted light green acrylic craft paint
- Silver acrylic craft paint
- Black craft felt
- Two large wiggle eyes
- One wooden bead
- Two mini wooden spools
- Hot glue gun
- Glue sticks
- Scissors
- Paintbrush
- White chalk pencil or straight pins
- Cork Frankenstein patterns
The wine corks do not have to match. Try to choose corks that are close to the same length so they fit together evenly. Different markings and small imperfections add to the handmade look.
How to Make a Recycled Wine Cork Frankenstein Craft
Step One, Arrange the Wine Corks
Lay the 20 corks on your work surface. Arrange them into five rows, placing four corks in each row.
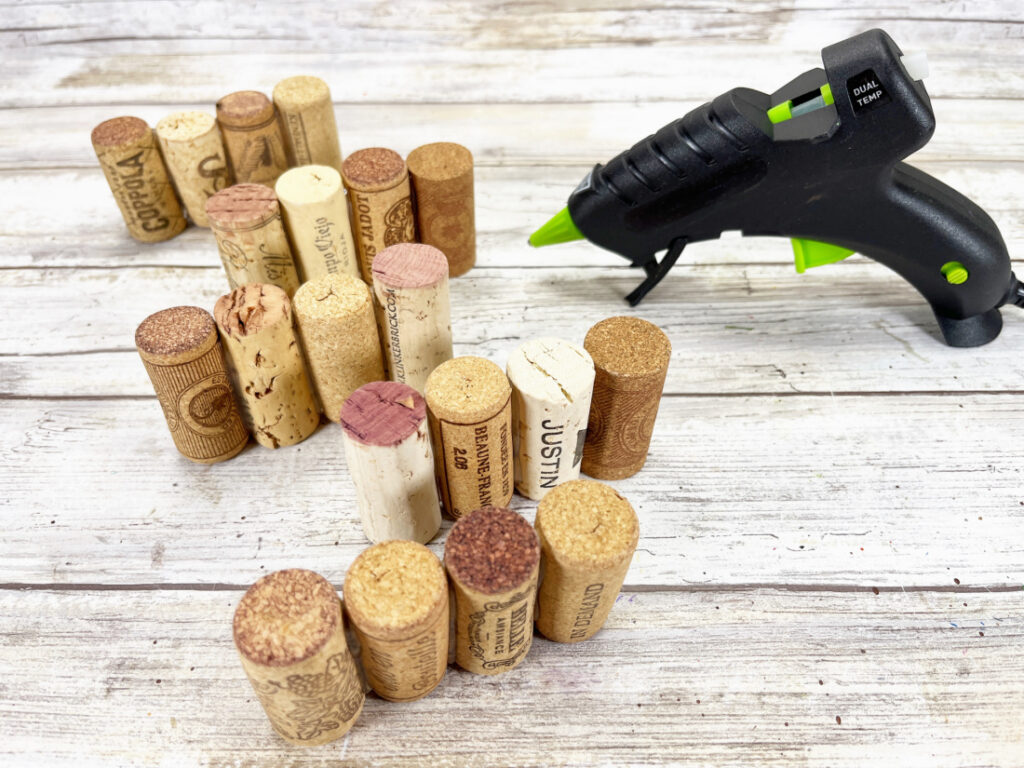
Move the corks around until you are happy with how they fit. Place any longer or wider corks along an outside edge or on the bottom row.
Step Two, Glue the Corks Together
Use a hot glue gun to attach the four corks in each row. Once you have five completed rows, stack and glue them together to form a rectangle.
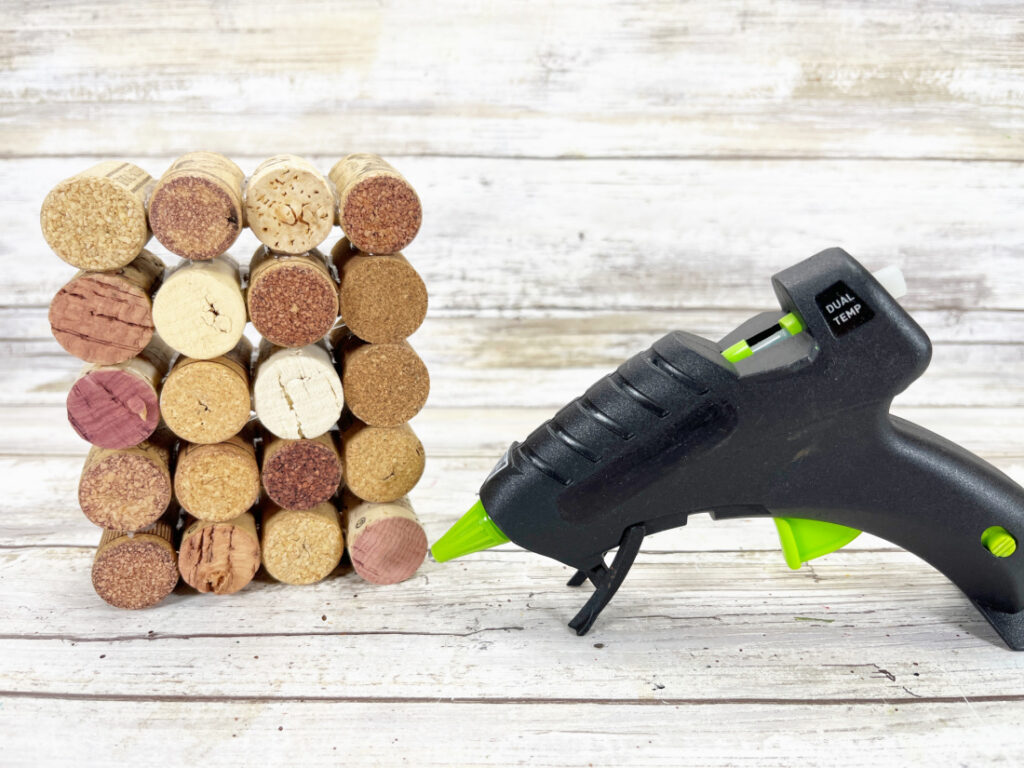
If you are using liquid craft glue, wrap a rubber band around the corks to hold everything in place while the glue dries.
An adult should handle the hot glue gun when children are helping with this project.
Step Three, Paint the Corks
Paint the visible ends of the corks with muted light green acrylic craft paint. Cover the front of Frankenstein’s face and any exposed areas along the sides.
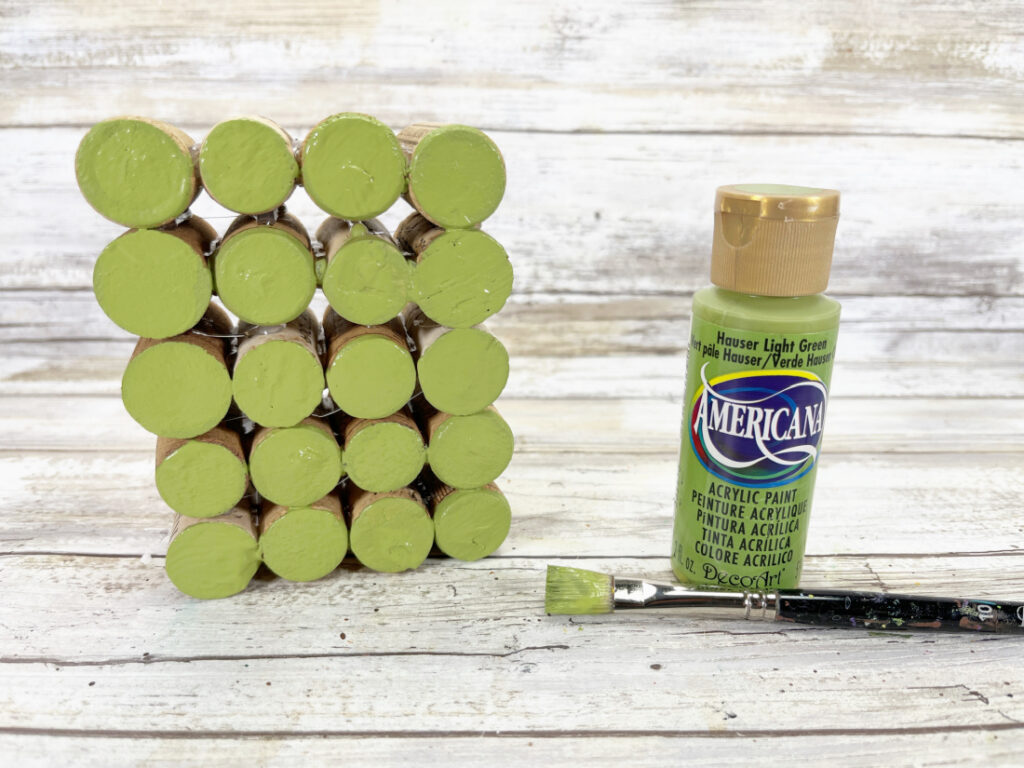
Apply a light coat and let it dry. Add a second coat if you would like more coverage. Letting some of the natural cork texture remain visible gives his face more character.
Step Four, Cut the Felt Pieces
Download, print, and cut out the Cork Frankenstein patterns. Place the patterns on black craft felt and trace around them with a white chalk pencil.
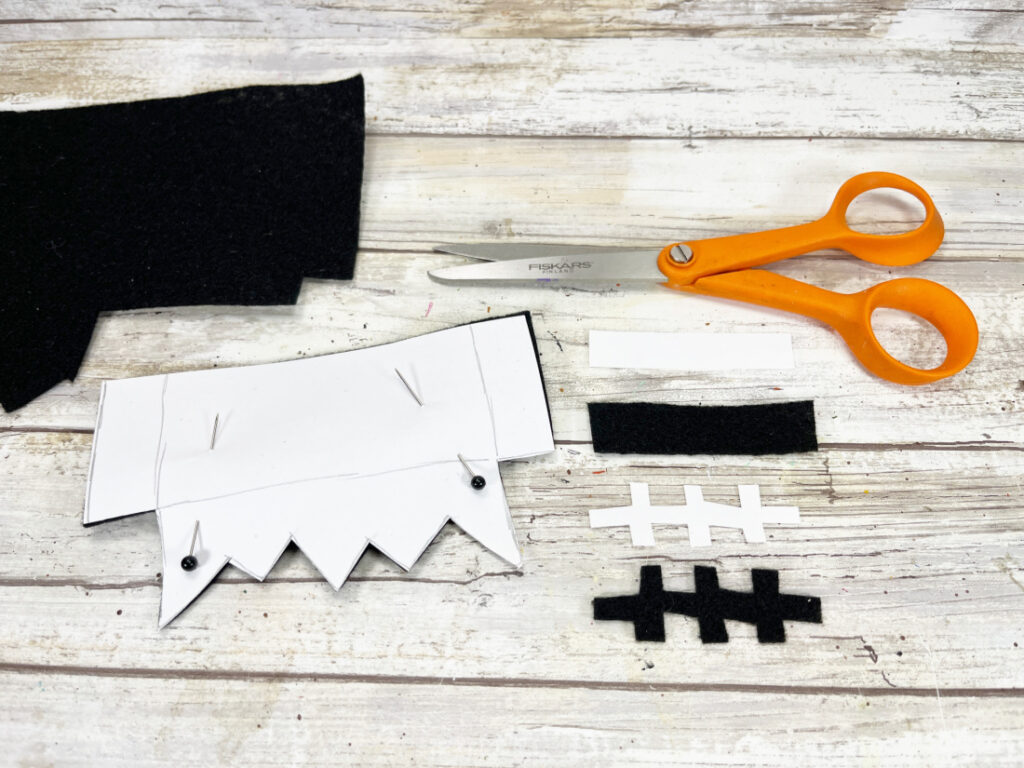
You can also pin the paper patterns directly to the felt with straight pins. Carefully cut out the hair, eyebrow, and mouth with scissors.
Step Five, Add Frankenstein’s Hair
Place the zigzag edge of the black felt hair across the top row of corks. Check the position before gluing it down.
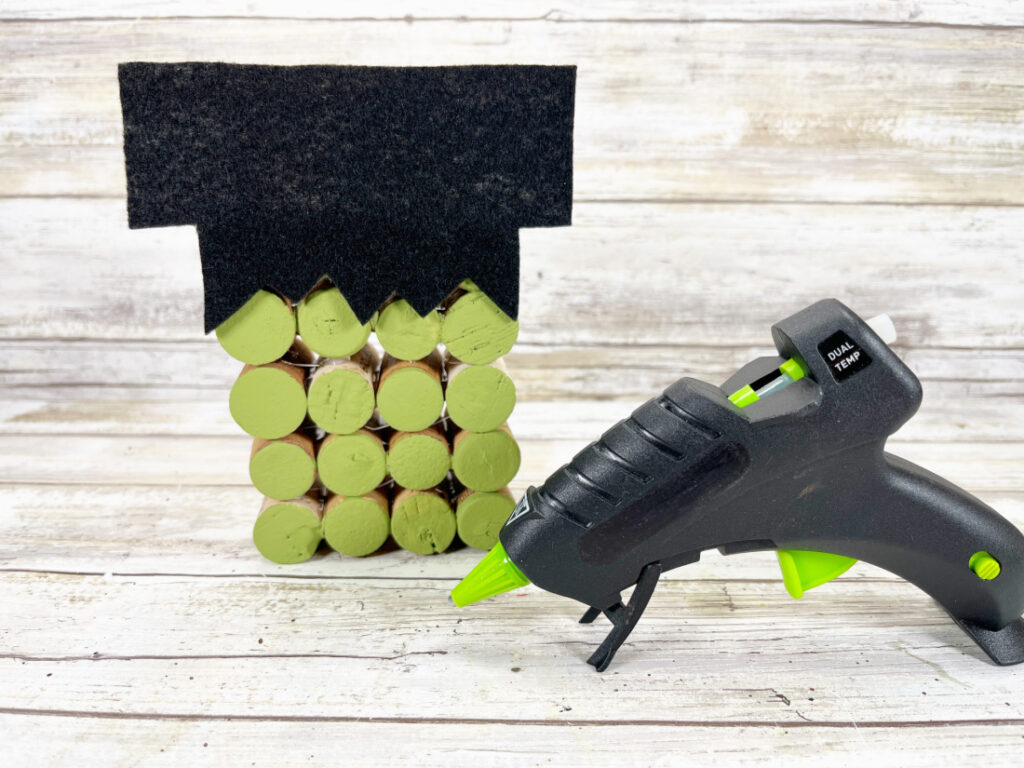
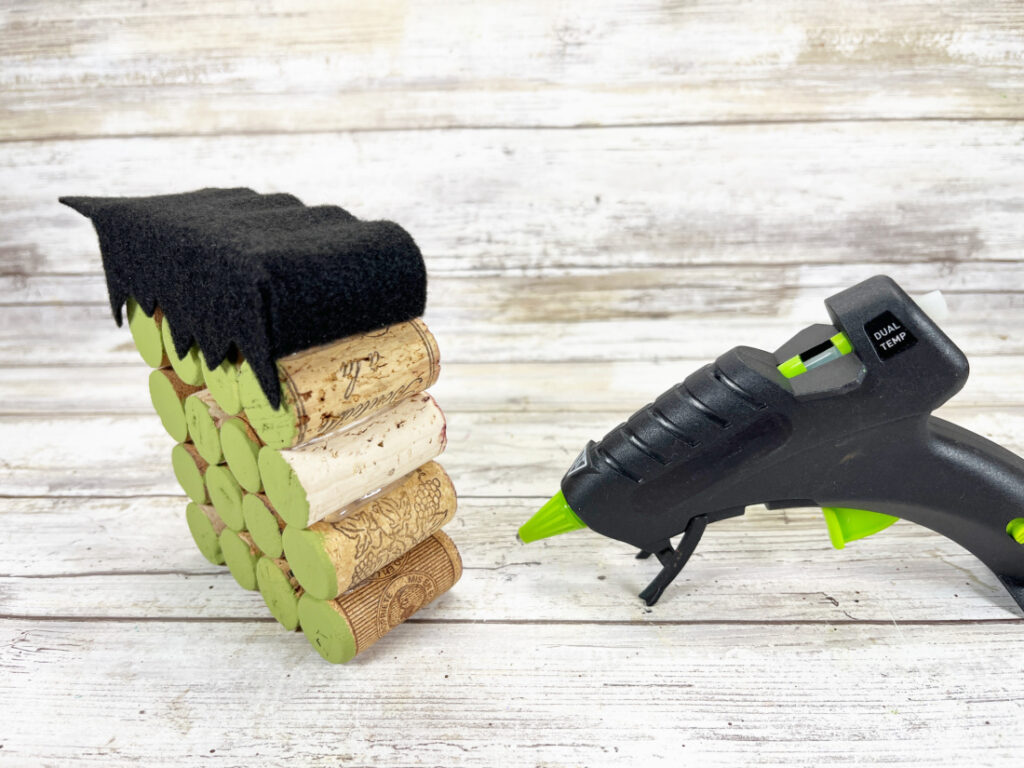
Attach the front edge with hot glue, then fold the remaining felt over the top of the corks. Glue it to the top and attach the tabs to the left and right sides of the upper row.
Step Six, Paint the Wooden Bead
Paint the wooden bead with the same muted light green paint used on the corks. Set it aside to dry and apply another coat if needed.
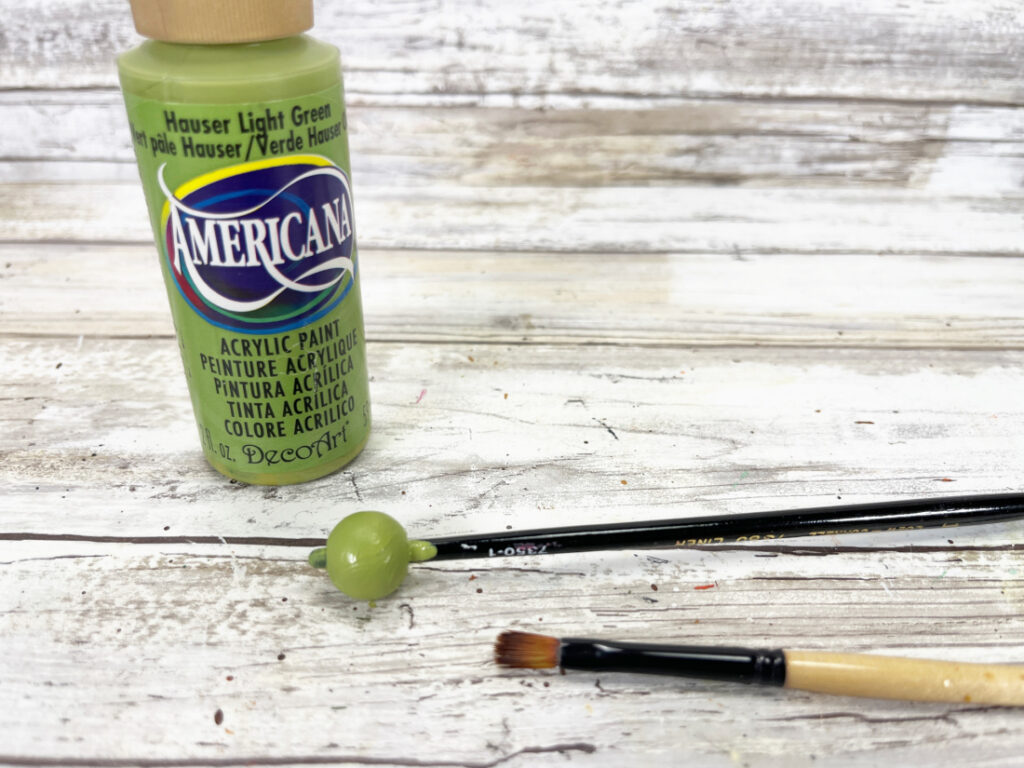
The painted wooden bead will become Frankenstein’s nose.
Step Seven, Create Frankenstein’s Face
Place the two wiggle eyes near the center of the cork base. Position the wooden bead below the eyes, the black felt eyebrow above them, and the mouth underneath the nose.
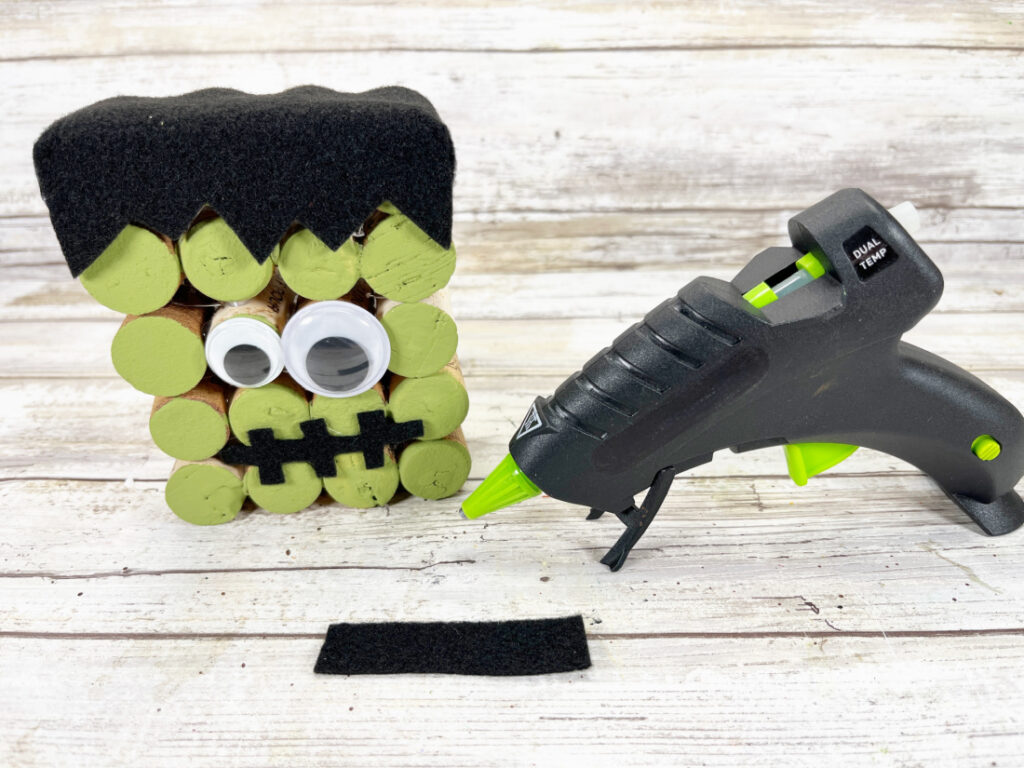
Move the pieces around until you like his expression. A tilted eyebrow can make Frankenstein look confused, while placing it straight across will give him a more serious face.
Once everything looks right, glue the eyes, nose, eyebrow, and mouth in place.
Step Eight, Make the Neck Bolts
Paint the two mini wooden spools with silver acrylic craft paint. Let them dry, then add a second coat if the unfinished wood is still visible.
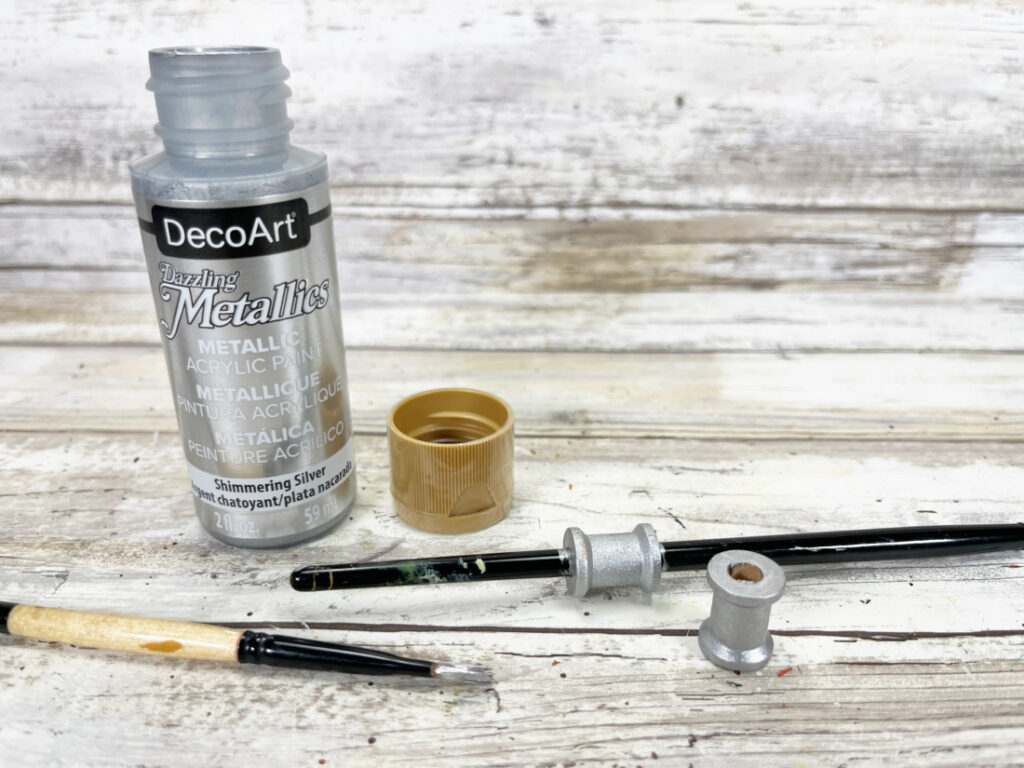
These small wooden spools will become Frankenstein’s neck bolts.
Step Nine, Add the Finishing Details
Glue one silver wooden spool to each side of Frankenstein’s face. Place them near the lower half of the cork base, around the same height as his mouth.
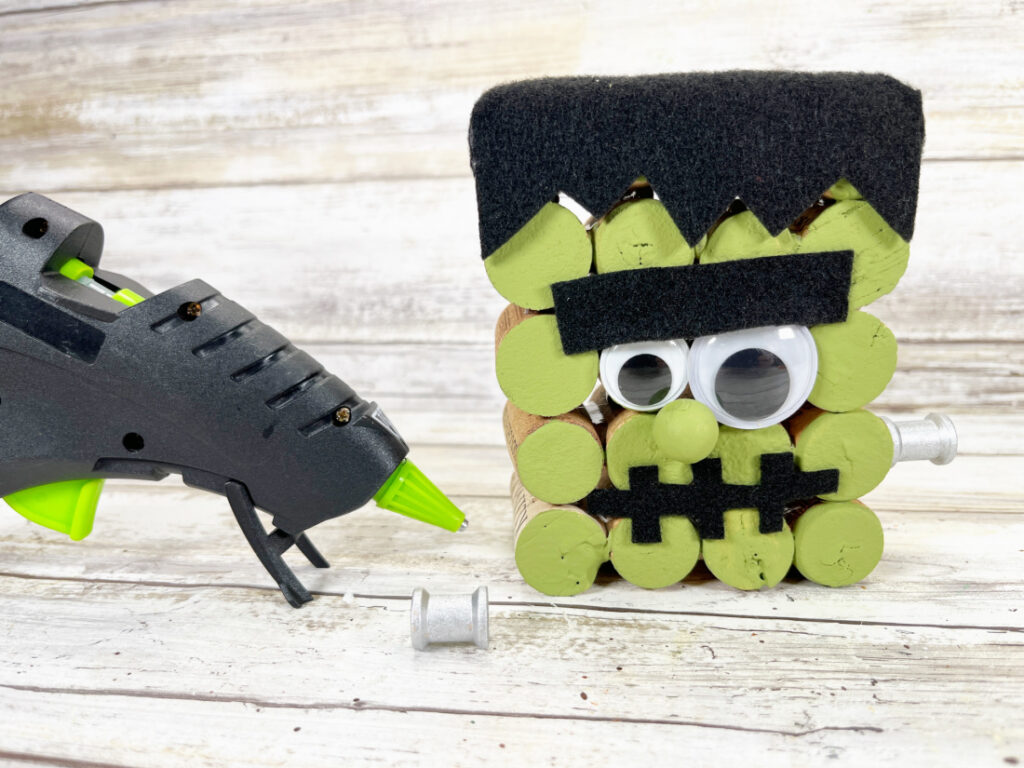
Check that every piece is secure. Once the glue has cooled, remove any thin strands of hot glue and let the decoration dry before displaying it.
Helpful Tips for Making Your Cork Frankenstein
Clean recycled corks with a slightly damp cloth and allow them to dry completely before applying paint or glue.
Arrange all the corks before attaching them. Hot glue sets quickly, and the corks can be difficult to separate without causing damage.
Use light coats of acrylic paint. Cork is porous, so thinner coats will dry more evenly.
Place all the facial features on the corks before gluing. Moving an eye or tilting the eyebrow can completely change Frankenstein’s expression.
Paint the bead and wooden spools while the cork base dries. This will help you keep working without waiting between every step.
Ways to Make Frankenstein Your Own
Muted light green gives Frankenstein a softer appearance, but you can use lime green if you want something brighter. Olive green will give him a slightly older look.
If you cannot find mini wooden spools, use small wooden pieces or painted bottle caps for the neck bolts.
You can replace the wiggle eyes with circles cut from black and white felt. Using two eyes in different sizes would make his expression even sillier.
Add a ribbon loop to the back if you would like to hang him. You could also use the same wine cork base to create a jack o’ lantern, mummy, or another Halloween character.
How to Store Your Wine Cork Frankenstein
Wrap the finished decoration loosely in tissue paper and place it in a sturdy storage container. Do not stack heavy decorations on top of the eyes, felt, or neck bolts.
Store Frankenstein in a cool, dry place to protect the corks, paint, felt, and glue.
For more handmade Halloween decorating, see my Vintage Halloween Decor Ideas and Halloween Entryway Decor Ideas. For general consumer and craft-product safety information, visit the U.S. Consumer Product Safety Commission.
Recycled Wine Cork Frankenstein Craft FAQs
How many wine corks do I need?
You need 20 wine corks, arranged in five rows with four corks in each row.
How long does this craft take?
It takes about 30 minutes of active crafting time. Additional time is needed for the paint and glue to dry.
Do the wine corks have to match?
No, they do not have to match. Corks that are close to the same length will be easier to arrange, but the different markings give Frankenstein more character.
Can children make this craft?
Children can help arrange and paint the corks and position the facial pieces. An adult should handle the hot glue gun and supervise the use of scissors.
What can I use instead of a wooden bead?
You can use a small wooden ball, a green pompom, or a circle cut from felt. Choose something lightweight so it stays attached to the corks.
Once your wine cork Frankenstein is dry, find the perfect spot for him among your Halloween decorations. His mismatched corks, silly eyes, and crooked smile are what make him so cute, and he is sure to make you smile each time you see him.
Recycled Wine Cork Frankenstein Craft
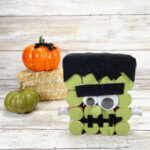
Recycled Wine Cork Frankenstein
Equipment
- Recycled Wine Corks – 20
- Acrylic Craft Paint – Muted Light Green, Silver
- Craft Felt – Black
- Wiggle Eyes – Dollar Store
- Glue Gun and Glue Sticks – Dollar Store
- Wooden Bead – Dollar Store
- Wooden Mini Spools (2)
- Scissors
- Paintbrush
- White Chalk Pencil or Straight Pins
- CORK FRANKENSTEIN PATTERNS
Instructions
- To begin the Cork Frankenstein, gather all supplies. Lay out 20 corks on your work surface. Five rows of four corks each.
- Attach the corks together in rows using a glue gun and glue sticks. Then stack and glue the rows together into five rows of four corks each to create a rectangle.
- If using liquid craft glue, hold the corks together with a rubber band during the drying process.
- Using the photo as your guide, paint the ends of the corks with muted light green acrylic craft paint using a paintbrush.
- Download, print and cut out the FRANKENSTEIN PATTERNS. Trace or pin the patterns to black craft felt and cut out with scissors.
- Attach the zig zag edge of the hair to the top row of corks with a glue gun and glue sticks. Fold the felt over and glue to the top of the corks. Glue the remaining felt tabs to the right and left side of the top row of corks.
- Basecoat the wooden bead with muted light green acrylic craft paint. Set aside to dry and apply a second coat, if necessary.
- To create Frankenstein’s face, attach two wiggle eyes and the wooden bead nose with a glue gun and glue sticks. Glue the eyebrow over the top of the wiggle eyes, and the mouth under the eyes.
- Paint the two mini wooden spools with silver acrylic craft paint. Let paint dry and apply a second coat, if necessary.
- To finish the Wine Cork Frankenstein, attach the mini wooden spools to the right and left side of Frankenstein with a glue gun and glue sticks.