Vintage Owl and Ghost Signs
These Vintage Owl and Ghost Signs are the kind of Halloween decorations that make me smile the second I see them. The little owl in her orange party hat and the happy ghost with his polka dot bow tie have that old-fashioned Halloween look I love, but they are still bright, playful, and easy to work into your October decorating.
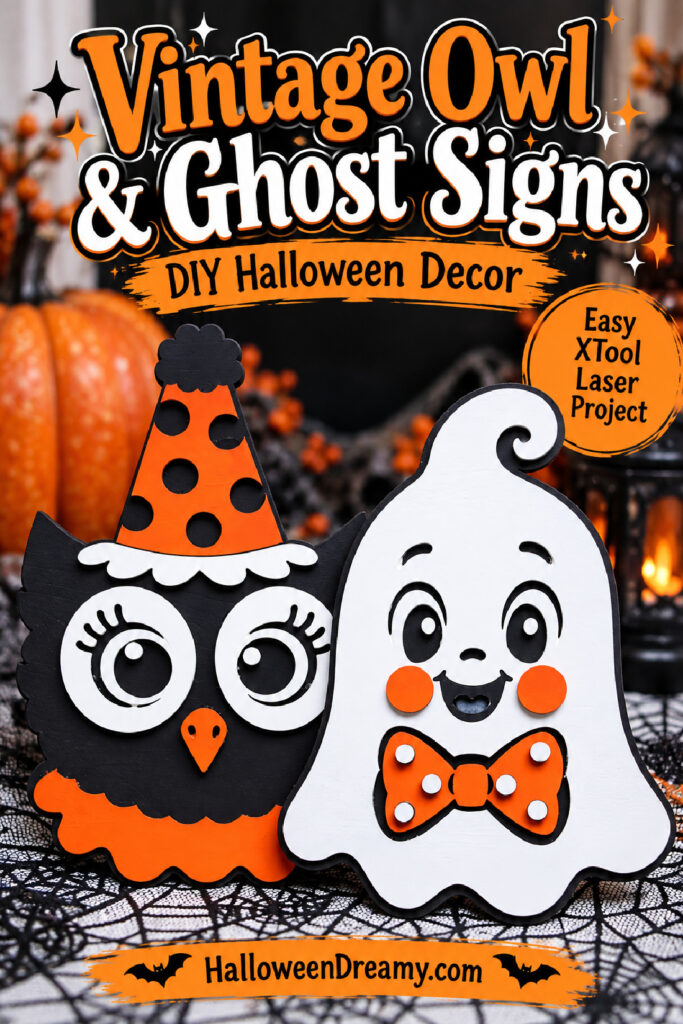
This Halloween craft starts with basswood sheets and SVG files cut on an xTool laser machine. Once the pieces are cut, you paint them in classic orange, black, and white, let everything dry, and glue the layers together. The finished signs can be displayed on small easels, tucked onto a shelf, or added to a Halloween vignette.
Why You’ll Love These Vintage Owl and Ghost Signs
- They have a vintage Halloween look. The orange, black, and white color combination feels perfect for October.
- You get two decorations from one project. Make the owl and ghost together, then display them as a pair or separately.
- The layered details give them personality. From the owl’s party hat to the ghost’s bow tie, the little pieces make these signs extra cute.
- They are easy to display. Set them on easels, shelves, a mantel, or anywhere you need a little Halloween color.
- You can use your laser machine for the detailed work. Once the pieces are cut, the rest is mostly painting, drying, and assembling.
Materials for Vintage Owl and Ghost Signs
- 2 basswood sheets, 12 x 12 inches
- E6000 Industrial Strength Contact Adhesive
- xTool laser machine, I used the P2S
- SVG files and this
- FolkArt Pumpkin Orange paint
- FolkArt Pure Orange paint
- FolkArt White paint
- FolkArt Black paint
I used two shades of orange for this project. Mixing equal parts Pumpkin Orange and Pure Orange gives you the orange color shown on the finished signs. Having all four paint colors ready before you begin makes it easier to move through the painting step without stopping.
How to Make Vintage Owl and Ghost Signs
1. Open the SVG Files
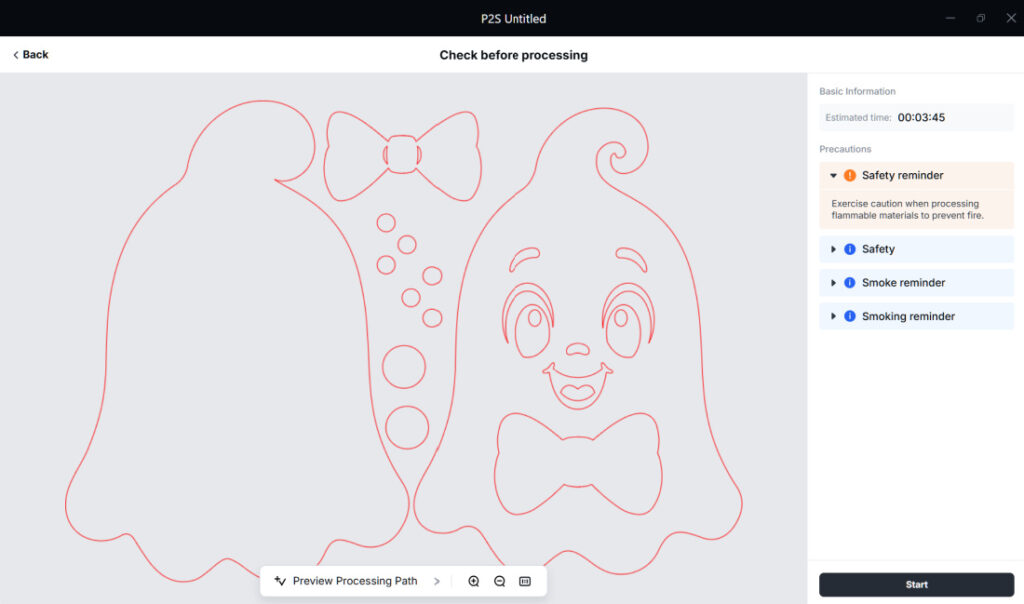
Open the SVG files in xTool Studio. Set up the ghost as one project and the owl as a separate project. Each design will use one piece of basswood.
Before cutting, make sure the pieces are positioned correctly for your 12 x 12 basswood sheets.
2. Cut the Basswood Pieces
Cut the designs with your xTool laser machine. For the xTool P2S used for this project, the recorded settings were 40/10/1.
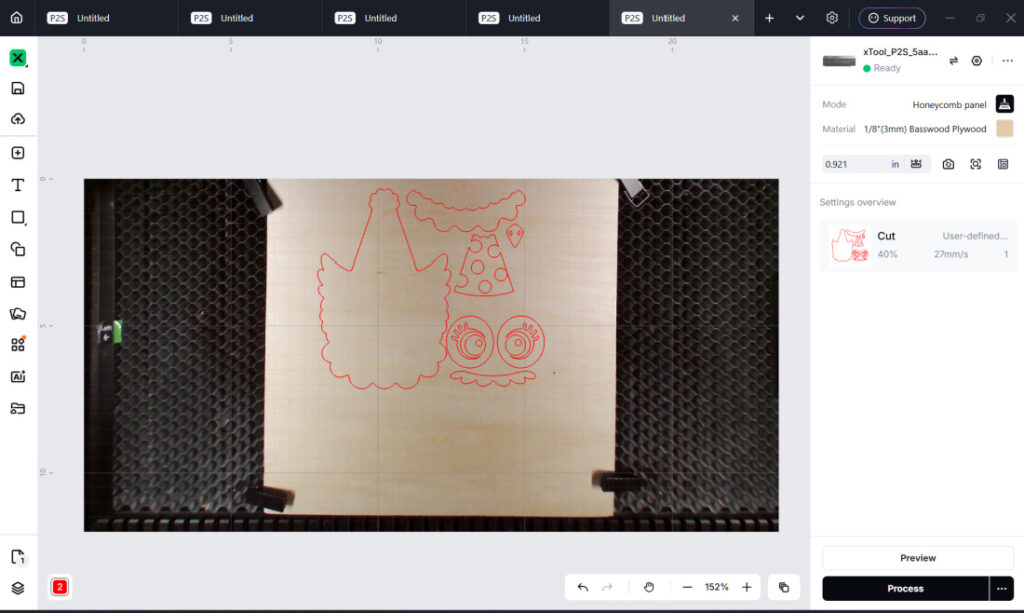
Laser settings can vary depending on your machine and materials, so use the settings appropriate for your equipment. Follow the manufacturer’s operating and safety instructions while cutting.
3. Paint the Pieces
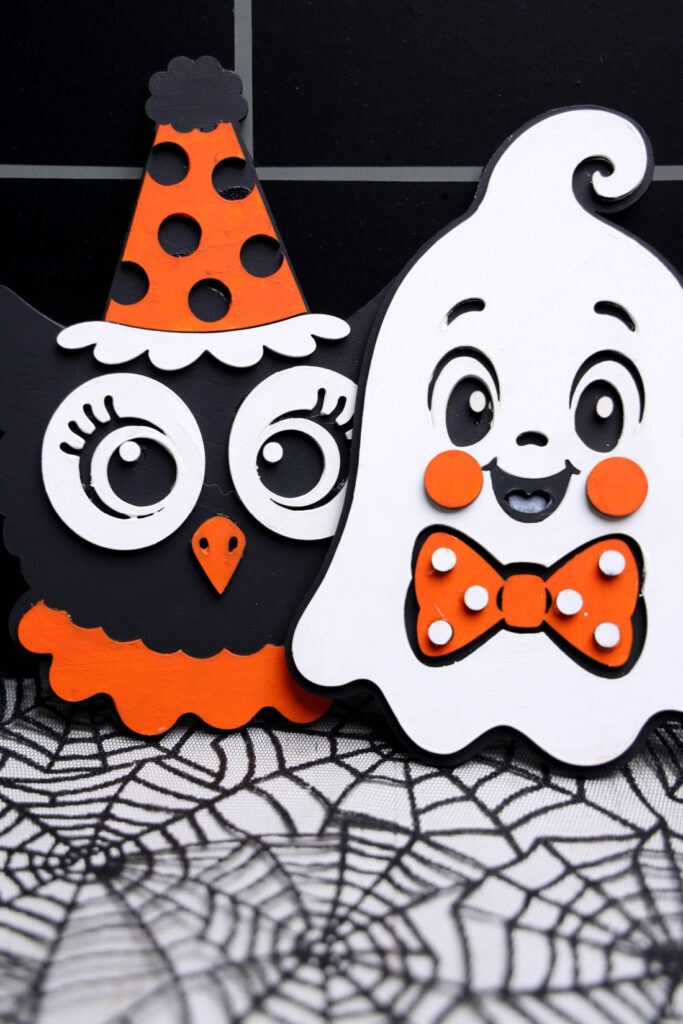
Once everything is cut, paint the pieces to match the finished owl and ghost shown in the photos.
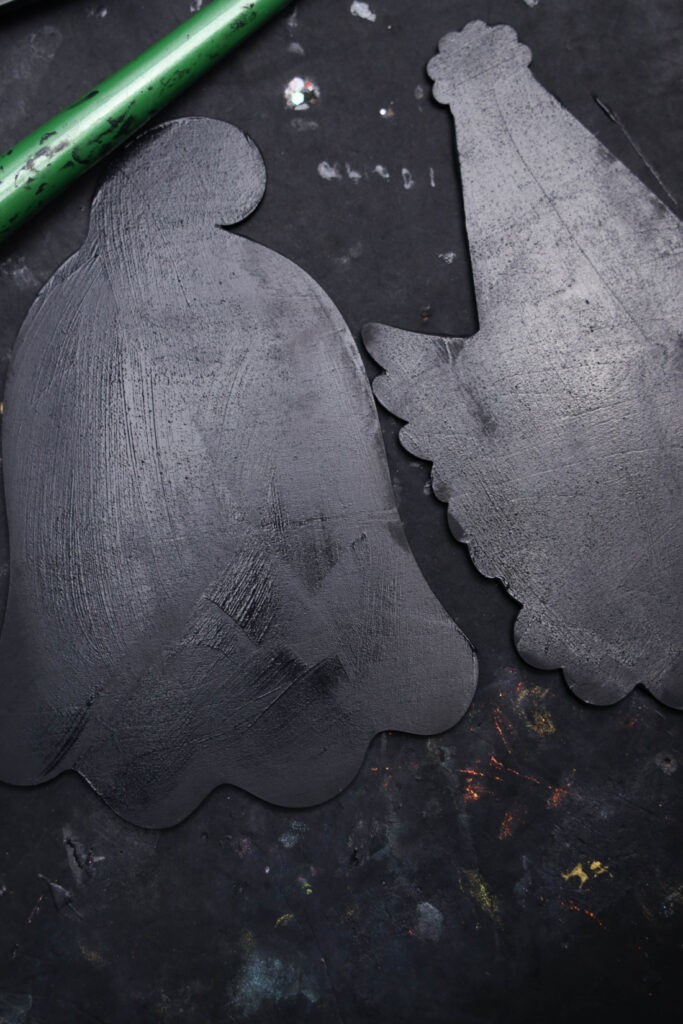
Mix equal parts Pumpkin Orange and Pure Orange paint to create the orange used throughout the project. Use white and black for the remaining details. The limited color palette is one of my favorite things about these signs because it gives them that classic Halloween appearance without needing a long list of paint colors.
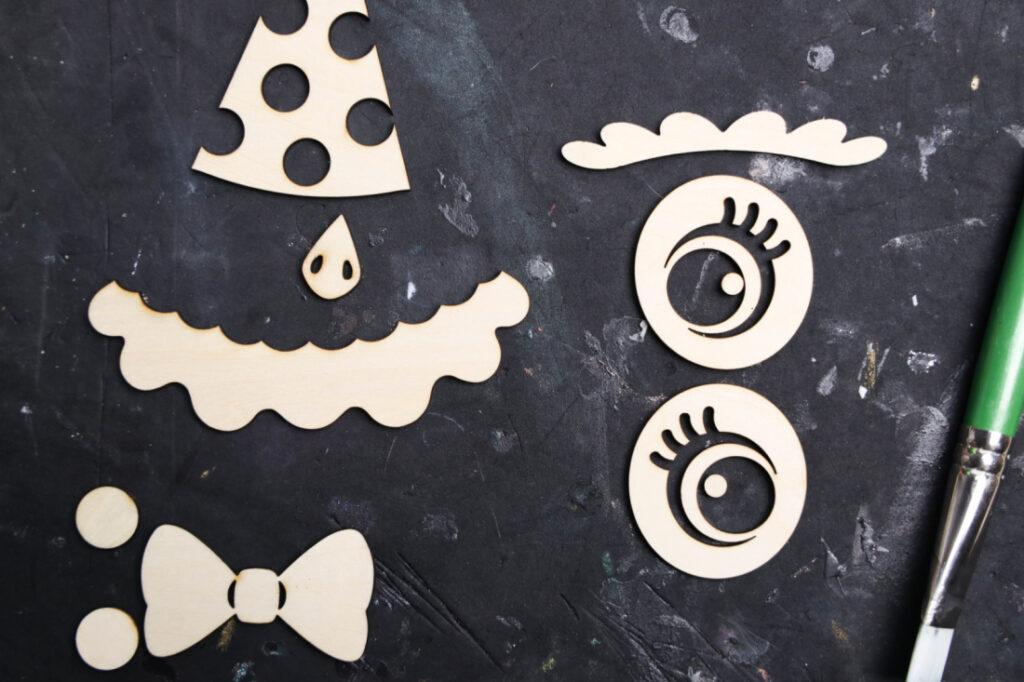
4. Let Everything Dry
Set the painted pieces aside and let them dry completely. It is worth waiting until the paint is dry before assembling the layers so you do not smear the smaller details while trying to line everything up.
5. Glue the Pieces Together
Once the paint is dry, use E6000 adhesive to glue the layered pieces together. Work from the larger base pieces to the smaller facial and decorative details, using the finished photos as your placement reference.
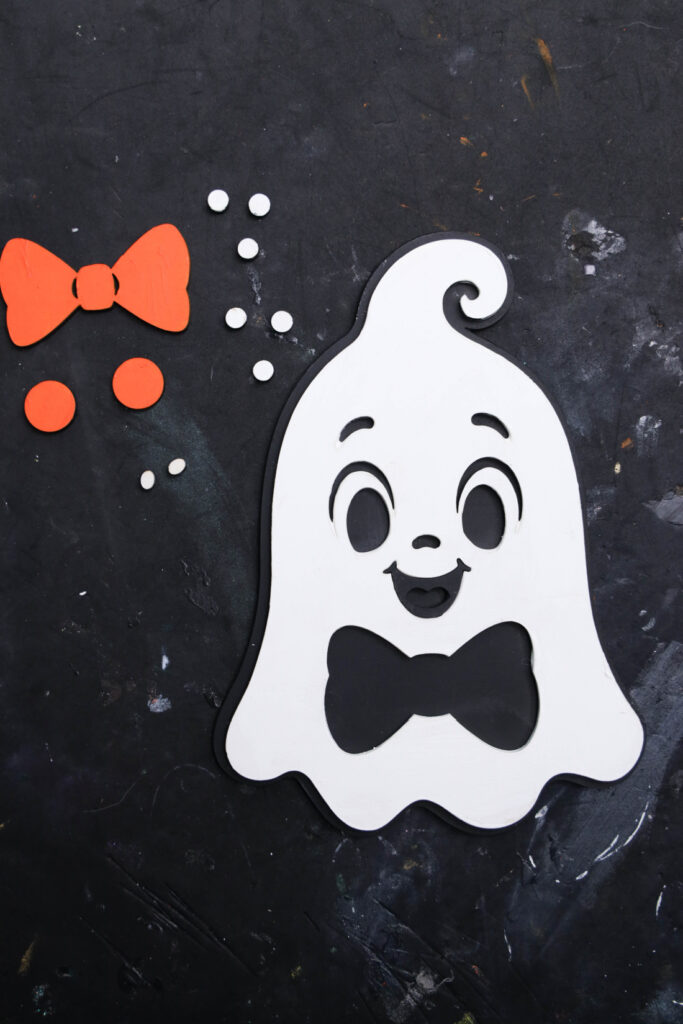
Give the adhesive time to set according to its directions before moving or displaying the signs.
Tips for Making These Halloween Signs
Keep the owl and ghost pieces separated after cutting so you do not have to sort through all the little shapes later. You can even lay each design out before painting to see where every piece belongs.
When mixing the orange paint, make enough for the entire project at once. That helps keep the orange consistent across the owl, ghost, hat, cheeks, and bow tie.
Use thin coats of paint when working around smaller pieces. Letting one coat dry before deciding whether you need another can help preserve the cut details.
Before gluing, arrange every painted piece on its base. Once you are happy with the placement, attach the pieces one at a time.
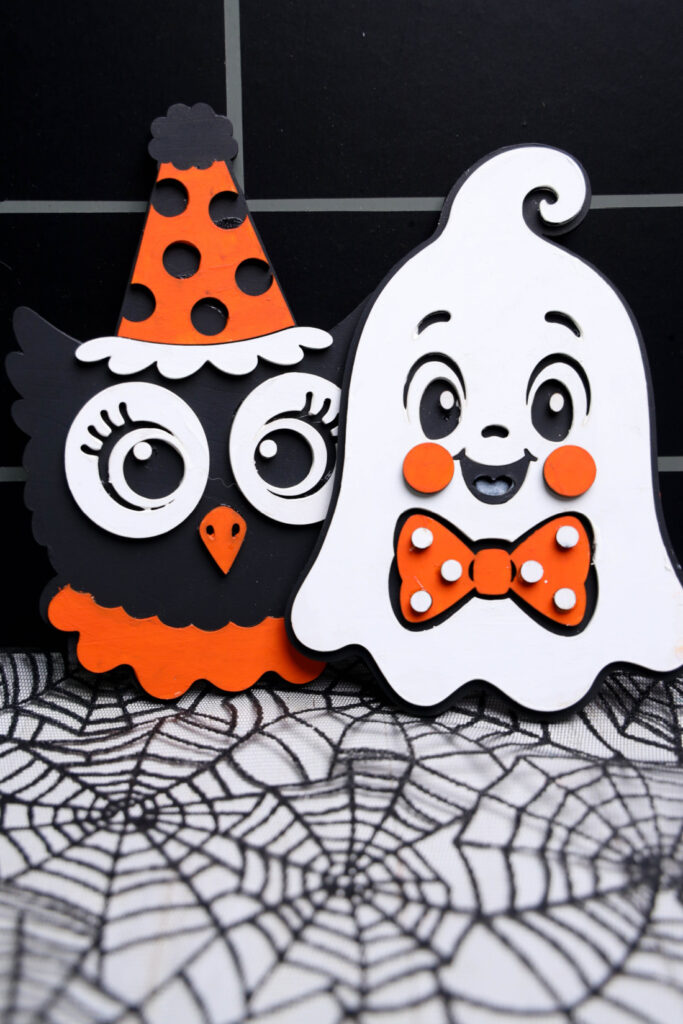
How to Display Your Vintage Halloween Signs
Small easels are an easy way to display the finished owl and ghost signs. I like them together because the matching orange, black, and white colors make them feel like a set.
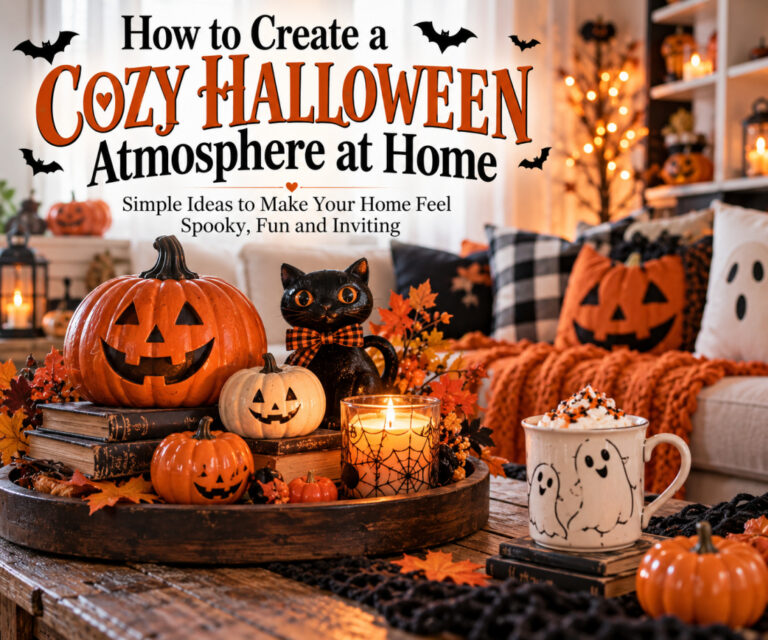
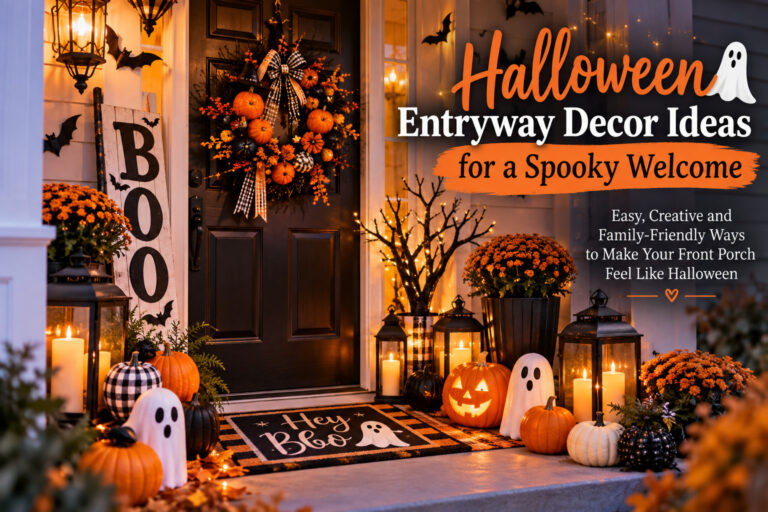
You could also add them to an entryway display with pumpkins and other handmade decorations. If you are decorating that area, my Halloween Entryway Decor Ideas have more ways to put together a spooky welcome.
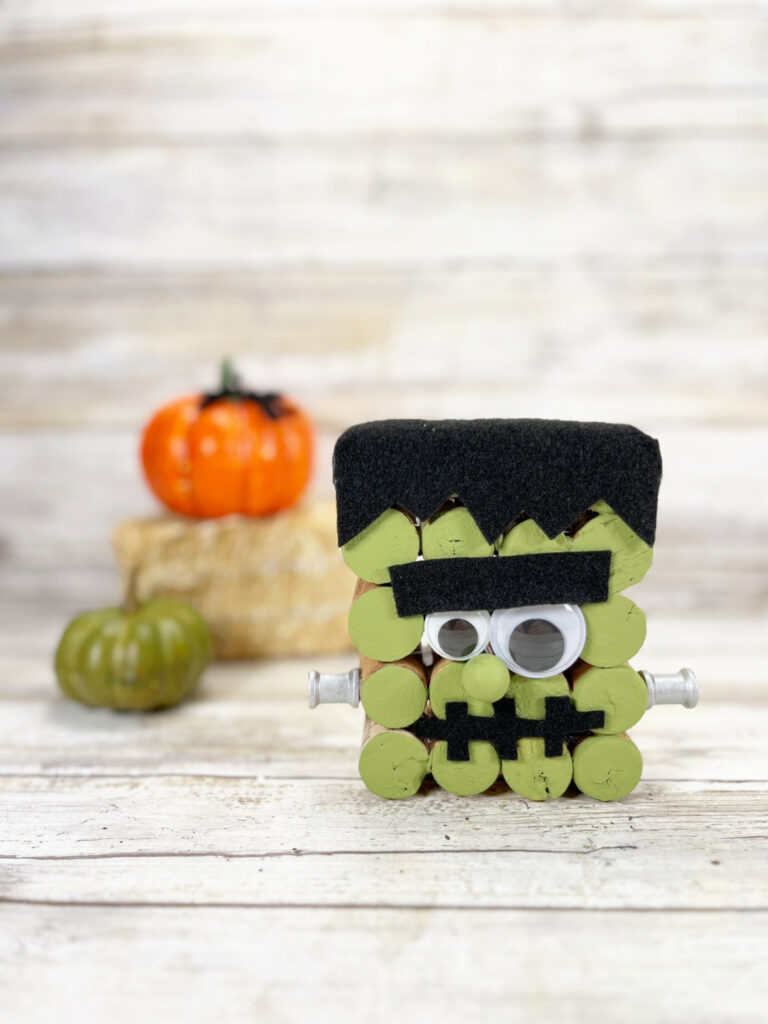
For another handmade ghost decoration, take a look at my Viral Sherpa Ghost. And if you want another project with bold Halloween colors, the Recycled Wine Cork Frankenstein Craft is a fun one to make too.
For more ways to style handmade pieces, see my Vintage Halloween Decor Ideas and Halloween Mantel Decor Ideas. When using a laser machine, always follow the manufacturer’s operating instructions; OSHA’s laser hazards information provides additional safety background.
Vintage Owl and Ghost Signs FAQs
What kind of wood is used for these signs?
This project uses two 12 x 12 basswood sheets, one for the owl project and one for the ghost project.
What laser machine was used?
I used the xTool P2S. The settings recorded for this project were 40/10/1, but settings vary by laser machine and material.
How do I get the orange color shown in the photos?
Mix equal parts FolkArt Pumpkin Orange and FolkArt Pure Orange paint.
How are the pieces attached?
After the painted pieces are completely dry, assemble them with E6000 Industrial Strength Contact Adhesive.
How can I display the finished signs?
You can use small easels to stand them up. They would also look cute on a Halloween shelf, mantel, or entryway display.
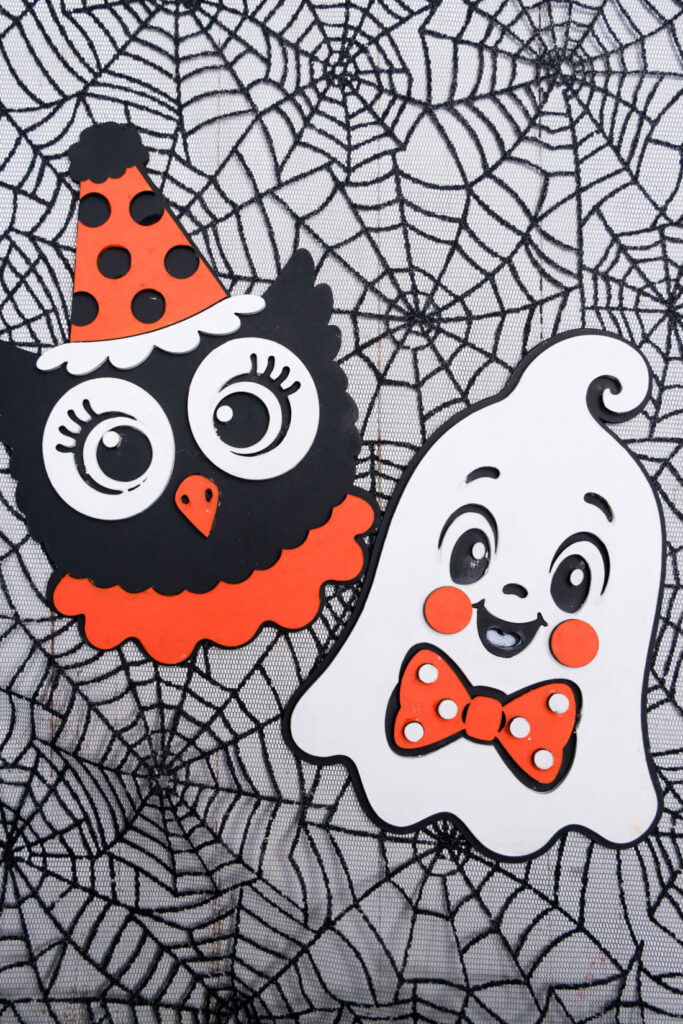
A Sweet Pair for Halloween Decorating
There is just something about vintage-style Halloween decorations that makes October decorating more fun. The owl has so much personality with her party hat and big eyes, while that smiling ghost and orange bow tie make the sweetest little companion.
Make them as a pair, give each one its own spot, or bring them out together every Halloween. Either way, these Vintage Owl and Ghost Signs add that orange, black, and white Halloween look I never get tired of seeing.
Vintage Owl and Ghost Signs
Equipment
- 2 – Basswood Sheets 12 x 12
- E6000 Industrial Strength Contact Adhesive
- XTool Laser Machine ( I used P2S)
- SVG files
- Pumpkin Orange Paint Folkart
- Pure Orange Paint Folkart
- White Paint Folkart
- Black Paint Folkart
Instructions
- Open SVG files into XTool Studio.
- Make the ghost as one project and the owl as another. Each will go on one piece of wood.
- Cut them at 40/10/1 for the XTool P2S (laser machine settings will vary).
- Paint each item as they look in the photos here in the post.
- Mix together equal parts of the orange to get the right color orange.
- Let dry.
- Once dry use the E6000 glue to glue together the pieces.
- May use an easel to display.