Melting Witches Halloween Treats
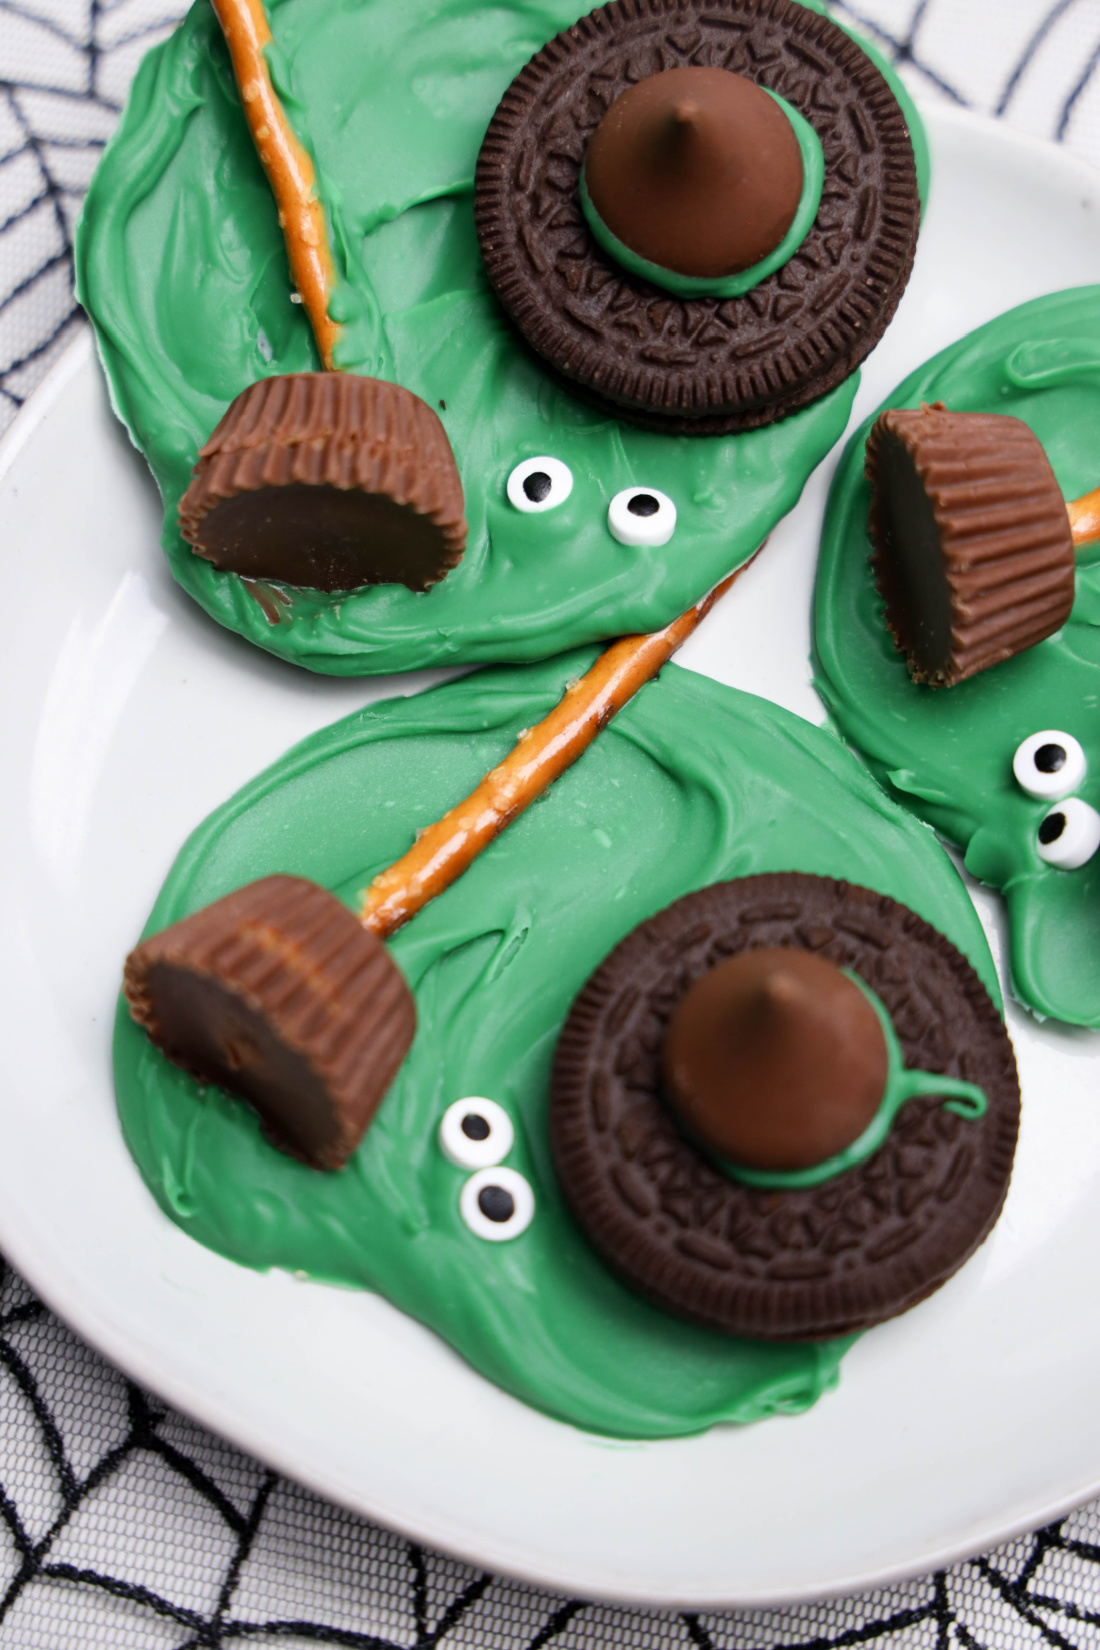
These Melting Witches Halloween Treats are one of those Halloween recipes that look like you spent far more time making them than you actually did. A puddle of green candy becomes the melted witch, while an Oreo and Hershey’s Kiss make her hat, candy eyes give her a silly expression, and a Reese’s Miniature with a pretzel stick becomes the little broom left behind.
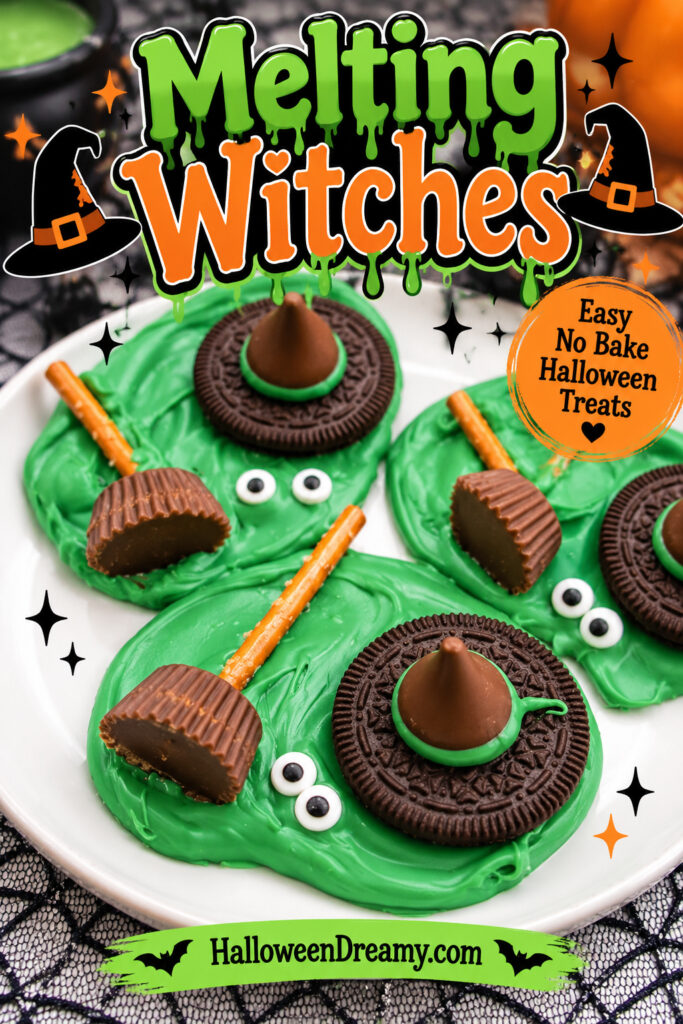
They are colorful, fun, and just creepy enough for Halloween without being too scary. The recipe makes four treats and takes about 15 minutes to prep, 5 minutes of heating time, plus about 20 minutes in the refrigerator to harden. They would be cute for a Halloween party, an October movie night, or as a special treat after dinner.
Why You’ll Love These Melting Witches
- No baking is needed. The green candy wafers are melted and assembled with store-bought treats.
- Each witch has so much personality. The candy eyes, hat, and broom turn a simple green candy puddle into a Halloween character.
- They only make four. This is a nice small-batch Halloween recipe when you do not need dozens of treats.
- They are easy to recognize. The bright green color and witch accessories make the theme obvious as soon as you put them on the table.
- Kids can help decorate. Once the candy is melted, adding the eyes, hats, and brooms is the fun part.
Ingredients for Melting Witches Halloween Treats
- 12 ounces green melt craft candy wafers
- 4 Reese’s Miniatures Peanut Butter Cups
- 4 pretzel sticks
- 4 Oreo cookies
- 4 Hershey’s Kisses Milk Chocolate
- 8 small candy eyes, 7mm
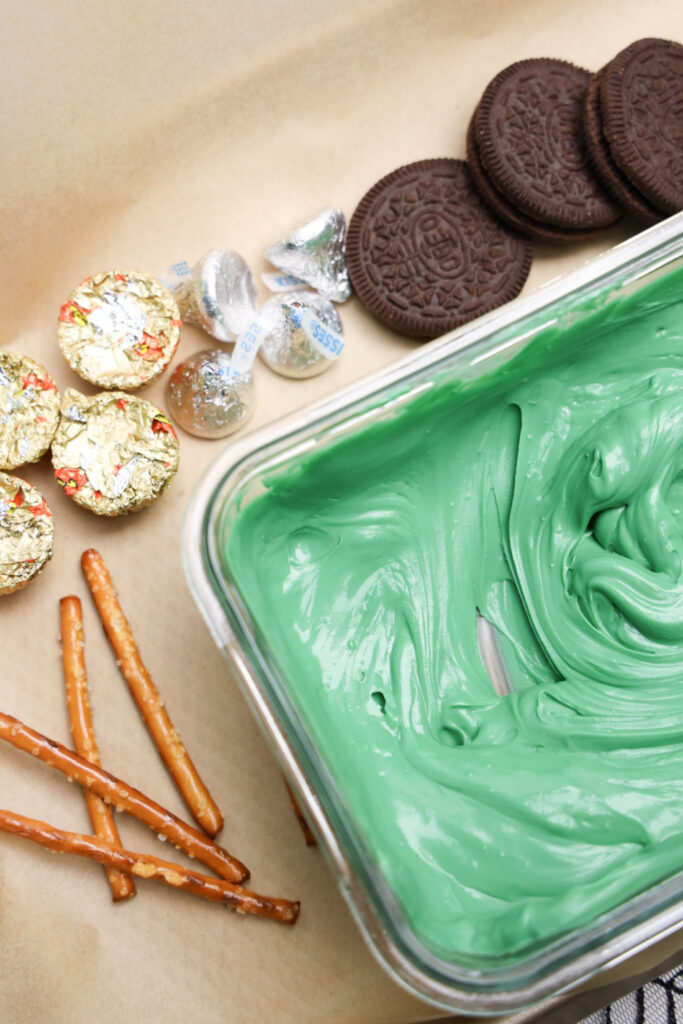
You will also need parchment paper and a baking sheet. I like that every candy in this recipe has a job. The Oreo and Kiss become the witch’s hat, the Reese’s cup and pretzel make the broom, and those tiny candy eyes make the melted witch look like she has just realized exactly what happened to her.
How to Make Melting Witches
1. Melt the Green Candy Wafers
Heat the candy melts according to the package directions. For this recipe, heat them on defrost mode for two minutes, stir, then heat for another two minutes on defrost. Stir again, heat for one more minute, and stir well until smooth.
2. Make the Melted Witch Shape
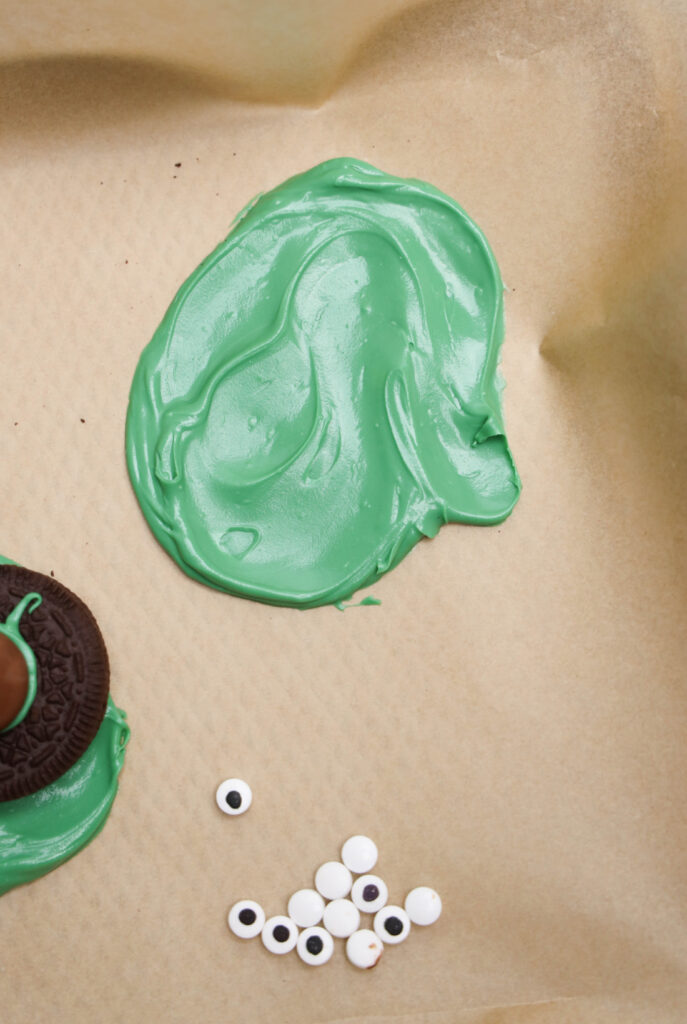
Line a baking sheet with parchment paper. Spoon about one to one and a half spoonfuls of the melted green candy onto the parchment and spread it into an uneven puddle. It does not need to be perfectly round. A slightly messy shape actually makes it look more like a witch who melted.
3. Add the Witch Hat
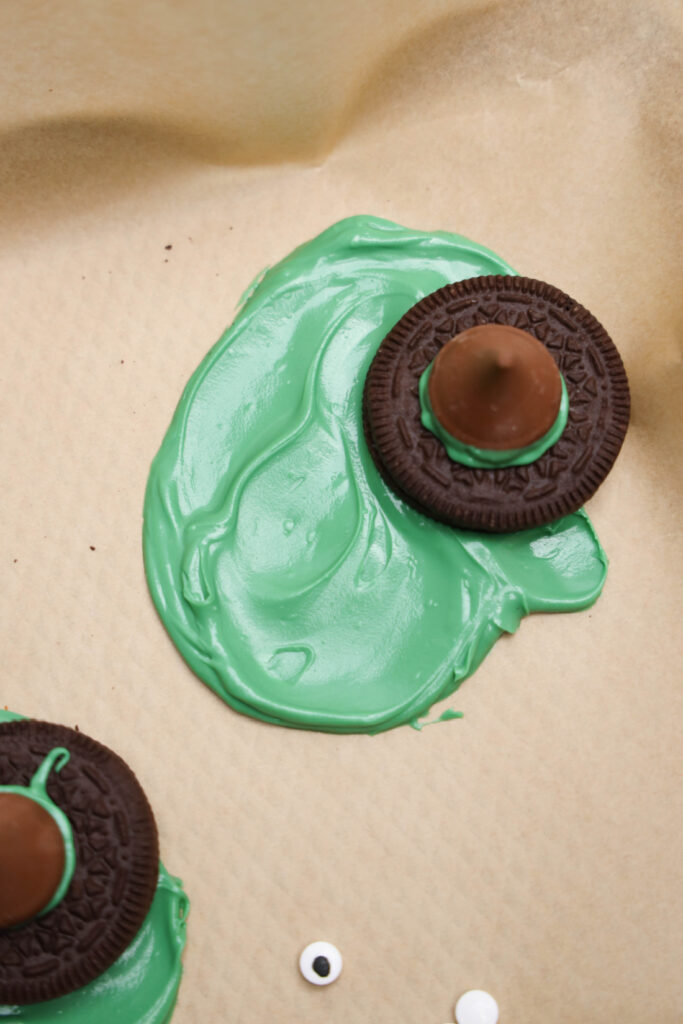
Place an Oreo on the green candy. Dip the bottom of a Hershey’s Kiss into the melted green candy and place it on top of the Oreo. The green candy helps hold the two pieces together while also adding a little green detail around the hat.
4. Add the Broom and Eyes
Place a Reese’s Miniature on the green candy and position a pretzel stick above it to create the broom. Add two small candy eyes to the witch. Repeat the process to make the remaining three treats.
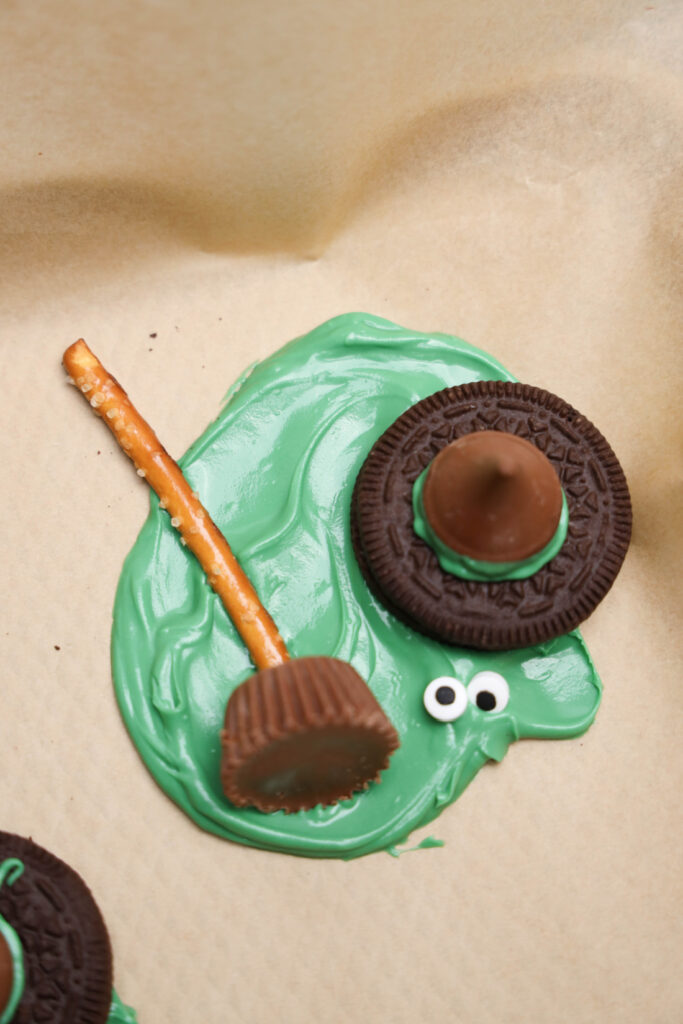
5. Chill Until Firm
Place the baking sheet in the refrigerator for 20 minutes, or until the green candy is hard. Once set, carefully lift each Melting Witch from the parchment paper.
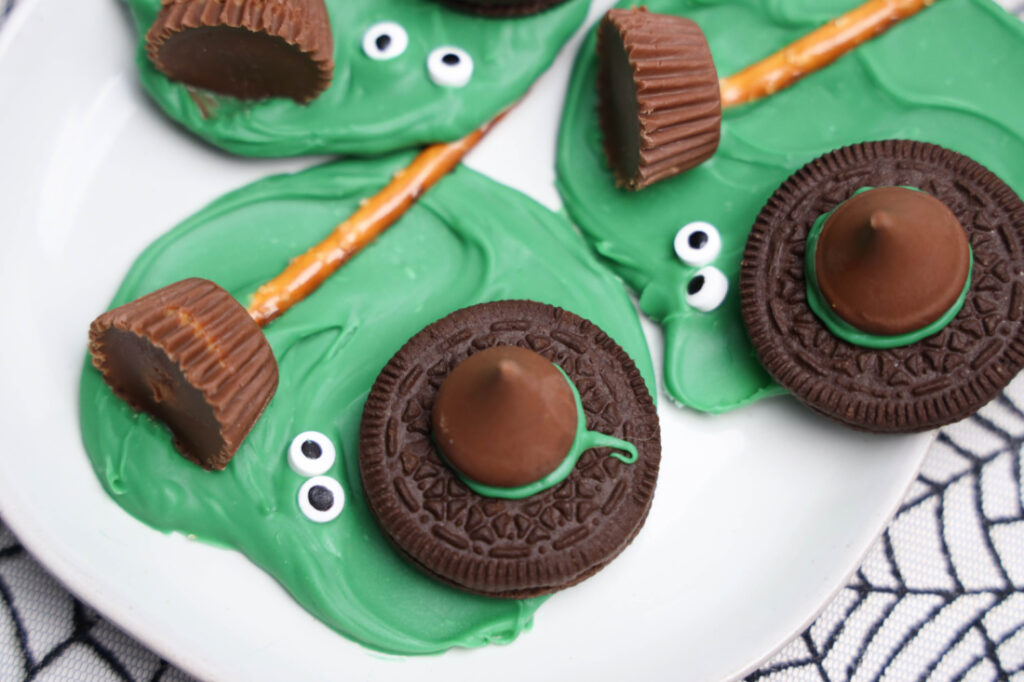
Tips for the Cutest Melting Witches
Have all of your candy pieces opened and ready before you melt the green wafers. Candy melts begin setting as they cool, so having the Oreos, Kisses, Reese’s cups, pretzels, and eyes nearby makes assembly much easier.
Do not worry about making every green puddle identical. Different shapes make each witch look a little different, which is part of the fun.
When adding the hat and broom, press them into the melted candy gently. You want them to make contact with the green candy so they stay attached after chilling, but there is no need to push them all the way through.
Variations and Easy Changes
You can change the placement of the eyes, hat, and broom slightly on each treat to give every witch her own expression. You can also make a larger batch by doubling or tripling the ingredients while keeping the same assembly method.
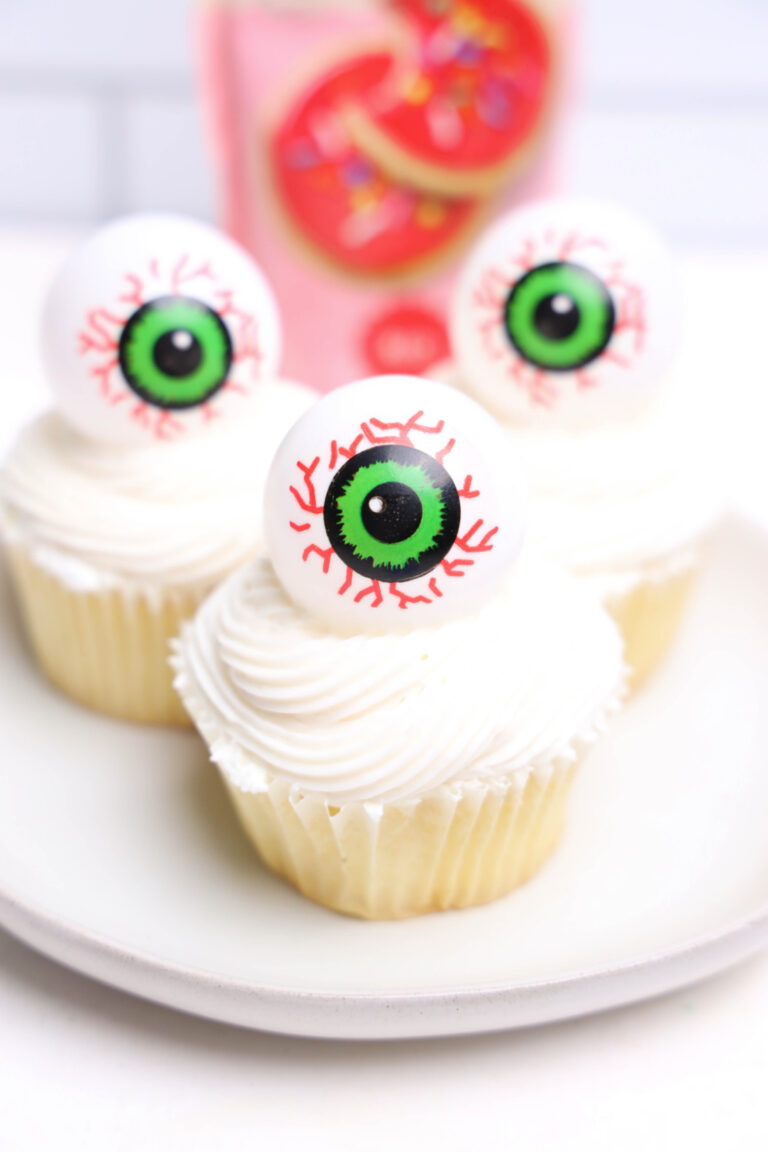
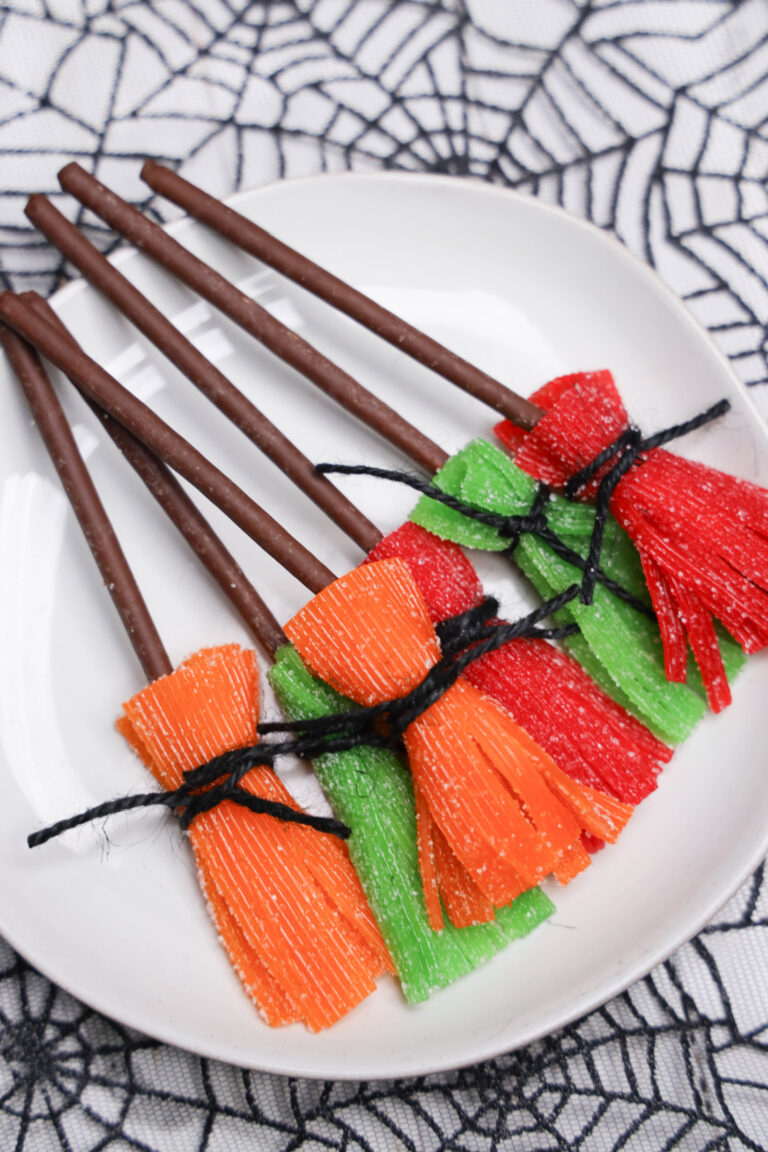
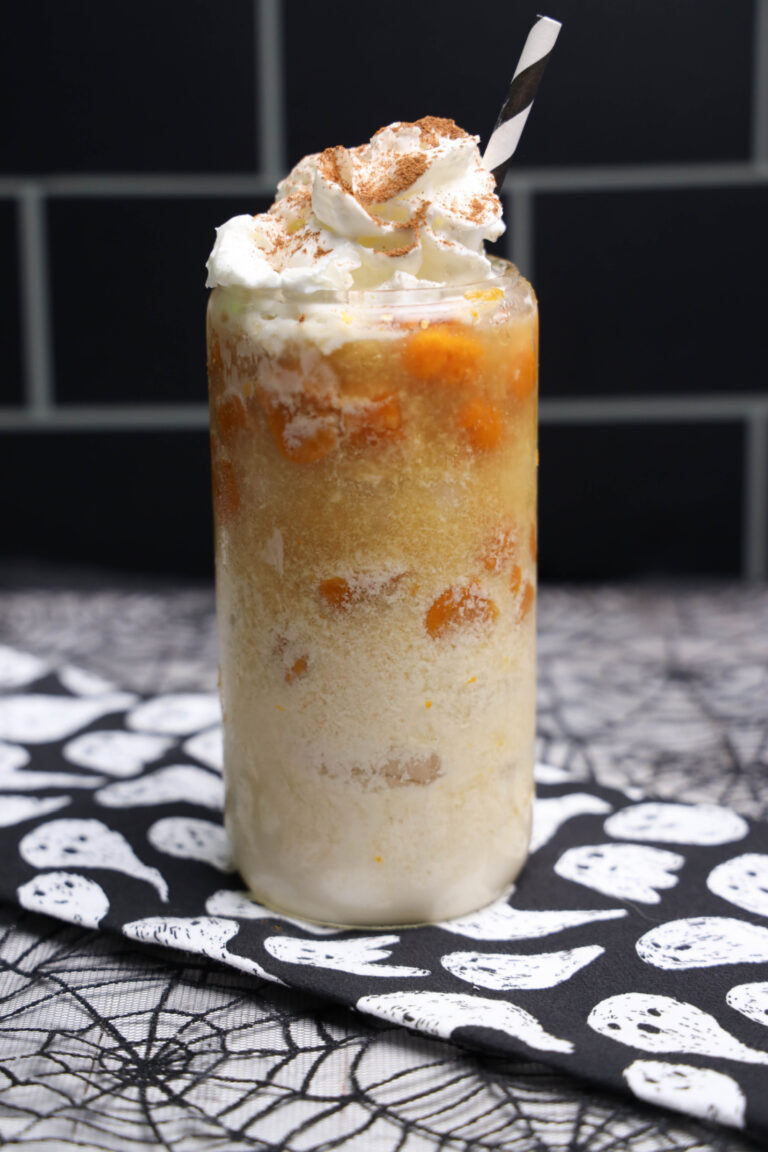
If you are putting together a Halloween dessert table, serve these alongside my Easy Halloween Eyeball Cupcakes or Sour Witch’s Brooms. For a fun Halloween drink to go with the treats, try the Haunted Pumpkin Drink.
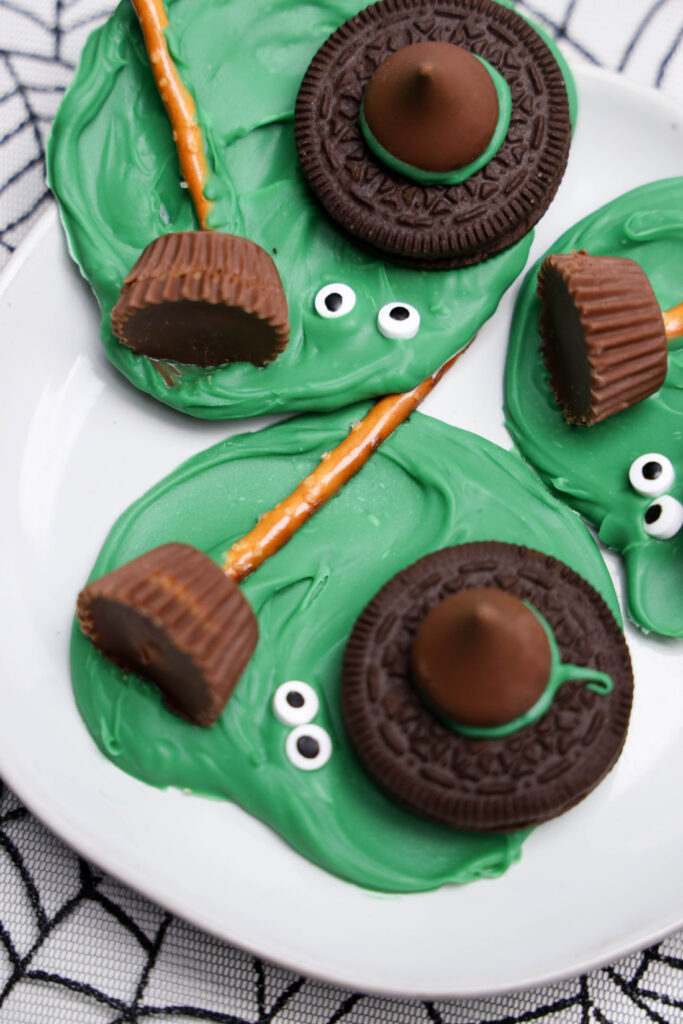
How to Store Melting Witches
Keep the finished treats in a covered container so they stay protected until you are ready to serve them. Because the original recipe sets the candy in the refrigerator, you can refrigerate the finished treats if needed. Let the candy remain firm before stacking or moving the witches so the decorations stay in place.
For another easy Halloween treat, try my Easy Halloween Eyeball Cupcakes, or pair these witches with my Haunted Pumpkin Drink. For general food-handling and storage guidance, I also rely on the FDA’s Food Safety at Home resources.
Melting Witches FAQs
Are Melting Witches baked?
No. This is a no-bake Halloween treat. You only need to heat the green candy wafers, assemble the decorations, and chill the finished witches until firm.
How many Melting Witches does this recipe make?
The recipe makes four individual treats.
How long do they need to chill?
Place them in the refrigerator for about 20 minutes, or until the green candy has hardened.
What makes the witch hat?
An Oreo cookie forms the brim of the hat and a Hershey’s Kiss sits on top. A little melted green candy helps attach the Kiss to the Oreo.
What makes the witch broom?
A Reese’s Miniature Peanut Butter Cup and pretzel stick create the broom beside each melted witch.
A Fun Little Halloween Treat
I love Halloween recipes that make people stop and look twice, and these Melting Witches definitely do that. They are silly, colorful, and made from candies and cookies that are easy to recognize. The green puddle, crooked little broom, candy eyes, and chocolate hat all come together in such a fun way.
Set them out for a Halloween party or make a small batch just because it is October. Either way, these Melting Witches are an easy way to add a little extra Halloween fun to dessert.
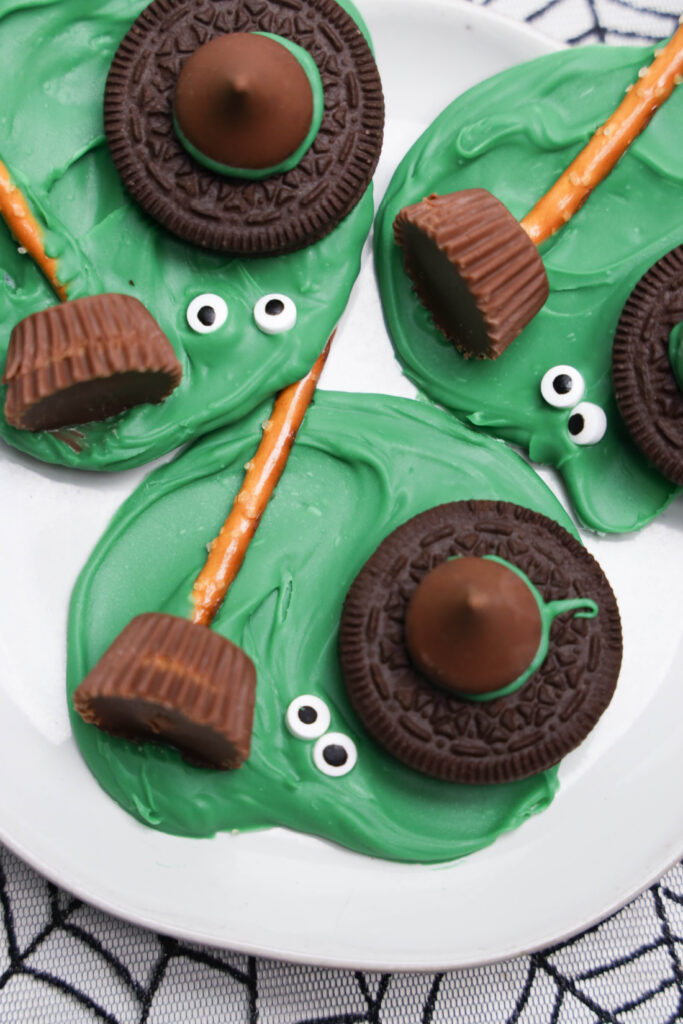
Melting Witches Halloween Treats

Melting Witches Halloween Treats
Ingredients
Method
- Heat candy melts as directed on the bag. Heat on defrost mode for two minutes then stir and heat again on defrost mode another two minutes. Stir and heat for one minute. Stir well.
- On parchment paper lined baking sheet, spread out about a spoon to a spoon and a half of candy melts. Add on Oreo and dip Hershey’s kiss into the green candy melts and place on top of the Oreo.
- Place Reese cup and then pretzel above it. Then add candy eyes. Repeat for the other three.
- Place in fridge for 20 minutes until hard.