Sour Witch’s Brooms
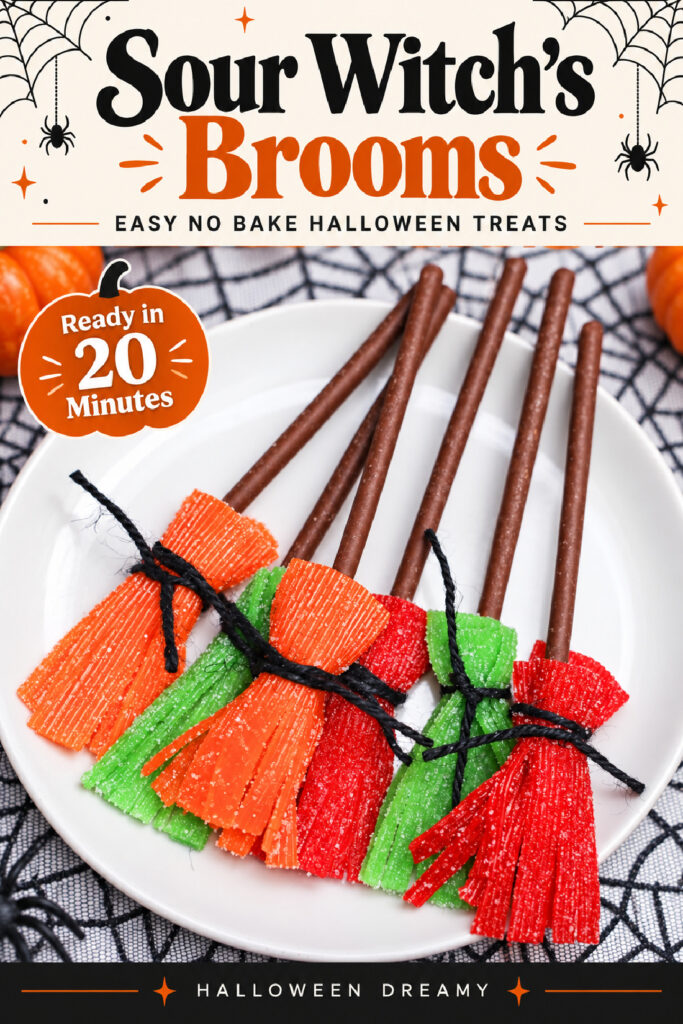
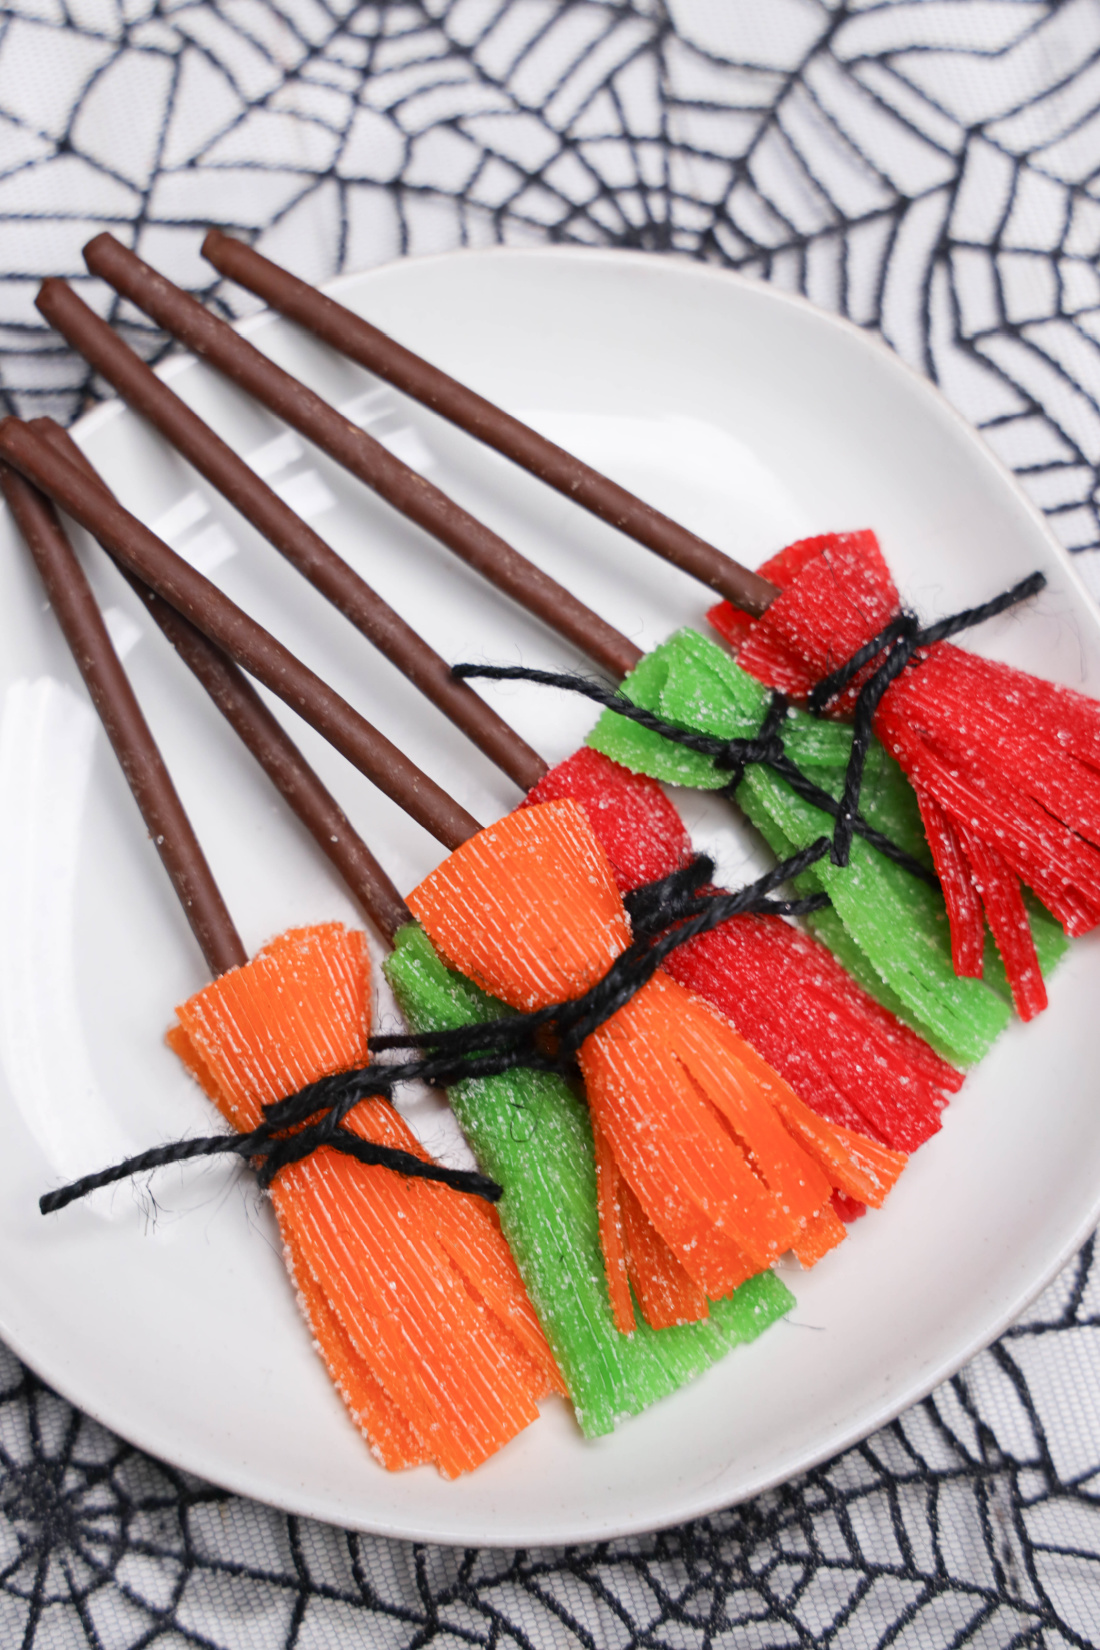
Sour Witch’s Brooms are a simple Halloween treat made with sour candy strips and chocolate covered Pocky sticks. You cut the candy into little broom bristles, tuck a biscuit stick between the pieces, and gently tie everything together. This recipe makes six brooms in about 20 minutes, with no baking or melted chocolate to fuss with.
I’m all for Halloween treats that look cute without taking over the whole afternoon. Sometimes you want a little something for movie night or a party tray, but you don’t feel like baking cupcakes and decorating every last one. These candy brooms fit right into that kind of plan. A few ingredients, a pair of kitchen scissors, and you’ve got something fun to put on the table.
Why You’ll Love These Sour Witch’s Brooms
- You only need two edible ingredients. Pick up sour candy strips and chocolate covered biscuit sticks.
- There’s no baking involved. Everything comes together with a little cutting and assembling.
- You can make a small batch. Six brooms are easy to put together without turning it into a big project.
- The colors do the decorating. Orange, green, and red candy look right at home on a Halloween plate.
- They have a fun mix of textures. You get chewy sour candy, smooth chocolate, and a crunchy biscuit handle.
Ingredients for Sour Witch’s Brooms
Yield: 6 brooms
Prep time: 20 minutes
Cook time: None
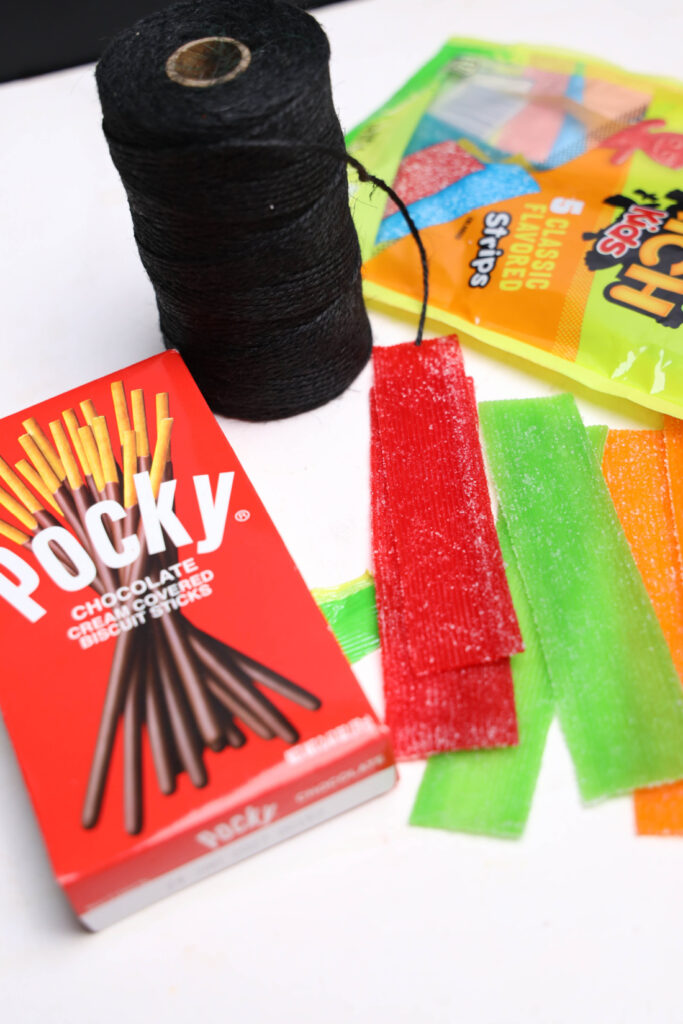
Make sure you’re buying the flat sour candy strips rather than individual Sour Patch Kids candies. The strips give you enough room to cut the fringe that makes these look like broom heads.
The Pocky sticks come already coated in chocolate, which keeps this recipe simple. Keep a few extra sticks nearby if you have them. They’re thin and can break if you squeeze or tie them too tightly.
Supplies You’ll Need
- Clean kitchen scissors
- Twine labeled suitable for food contact
- Serving plate or tray
The ties in the photos are not edible. Use food contact safe twine, remove it before eating, and supervise children when serving. Ordinary craft twine should not be used against the candy.
How to Make Sour Witch’s Brooms
1. Cut Each Candy Strip in Half
Fold a sour candy strip in half, then cut through the fold to make two equal pieces. Hold the pieces together with the edges lined up.
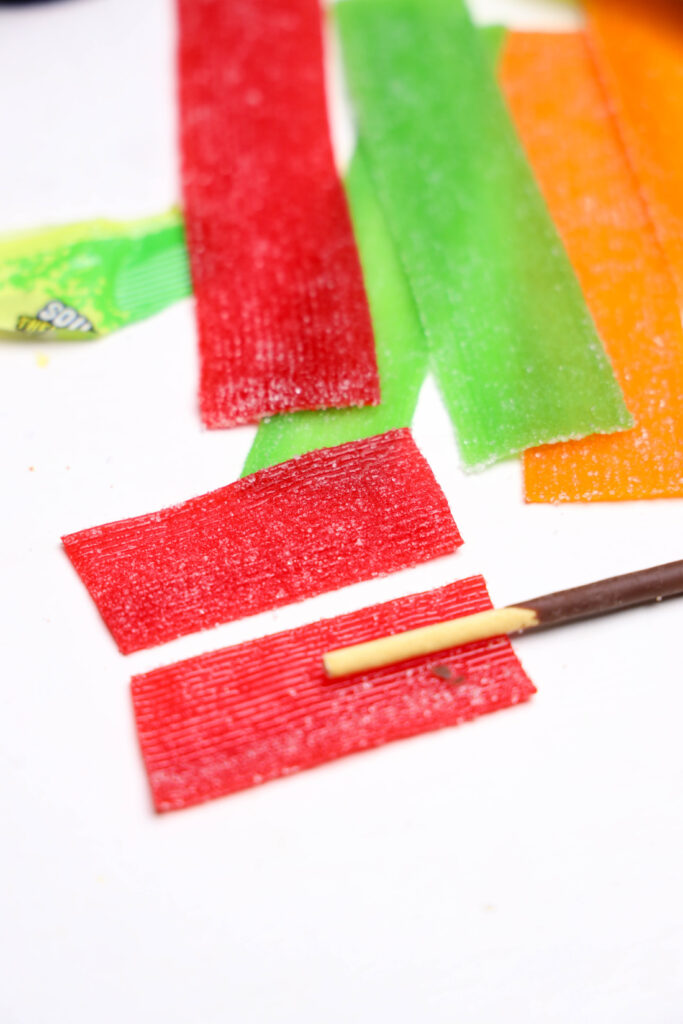
Each whole strip makes the two sides of one broom head.
2. Cut the Bristles
Using kitchen scissors, make several narrow cuts into the bottom edge of the stacked candy pieces.
Stop before you reach the top, leaving a solid section to keep the candy connected. This uncut area is also where you’ll tie the broom together.
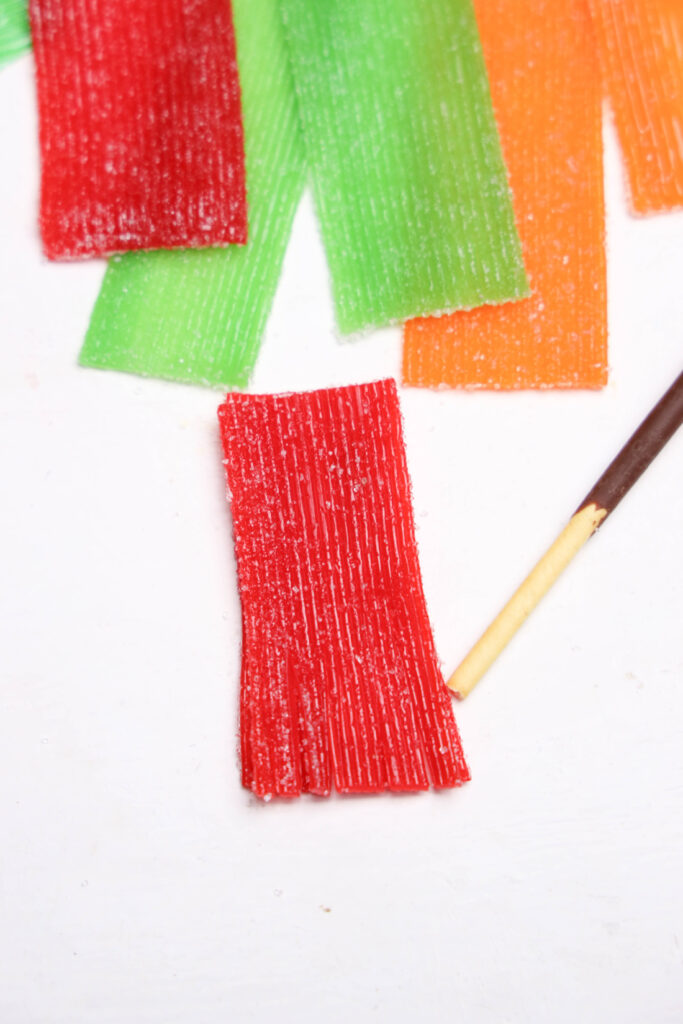
Don’t worry about making every bristle exactly the same width. You just need enough separate strips to give it that little broom shape.
3. Position the Pocky Stick
Place a Pocky stick between the two candy pieces. Keep it centered, with most of the stick extending above the candy as the broom handle.
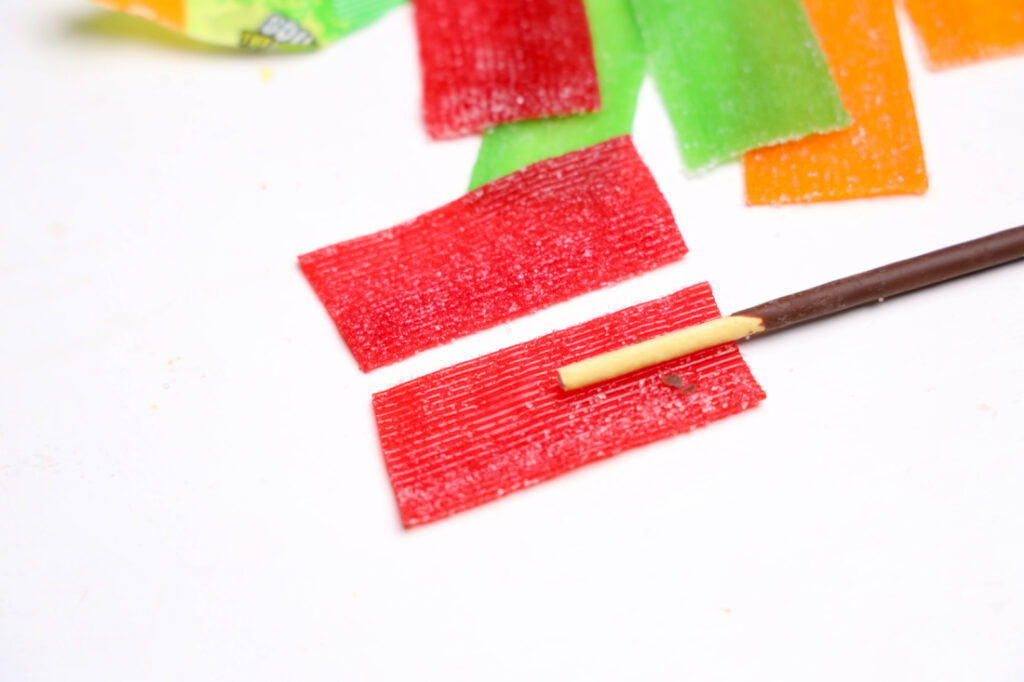
Line up the solid sections of candy so they sit together around the stick.
4. Secure the Candy
Wrap a short piece of food contact safe twine around the uncut portion of the candy. Tie gently, holding the candy in place without pressing hard on the biscuit stick.
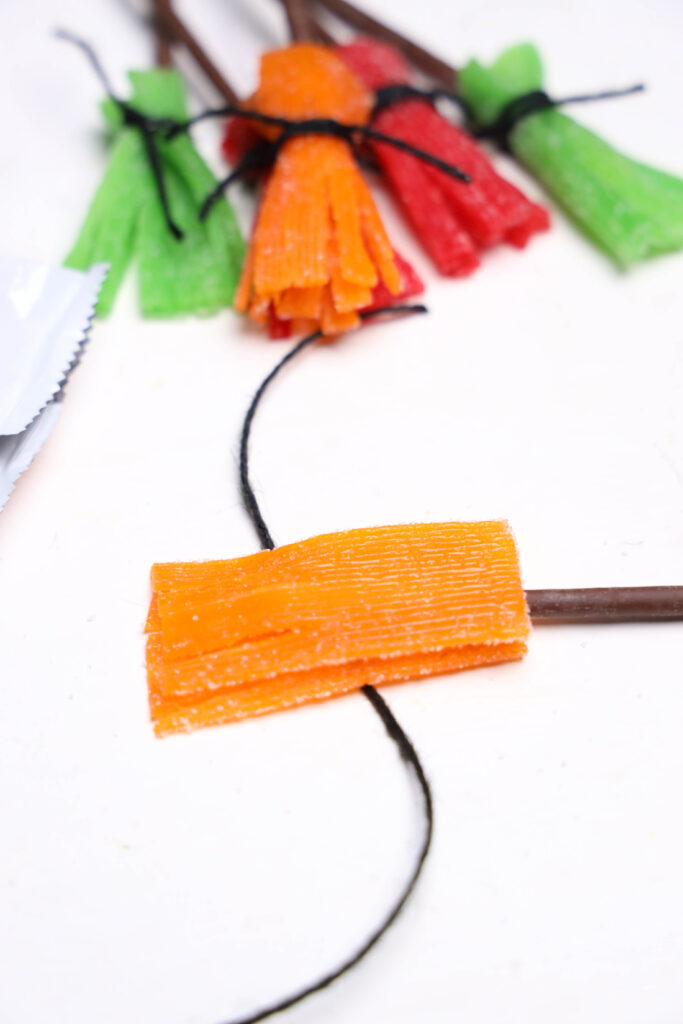
Repeat with the remaining ingredients. Lay the finished brooms flat on your serving plate, and remember to remove the ties before eating.
Tips and Tricks
Make one complete broom before cutting all the strips. It helps you see how much candy to leave uncut and where the handle should sit.
If your scissors get sticky, wash them and dry them thoroughly before continuing. A clean blade makes the fringe easier to cut.
Handle the Pocky sticks gently and keep them away from heat while you work. The chocolate coating can soften in warm hands or a sunny spot.
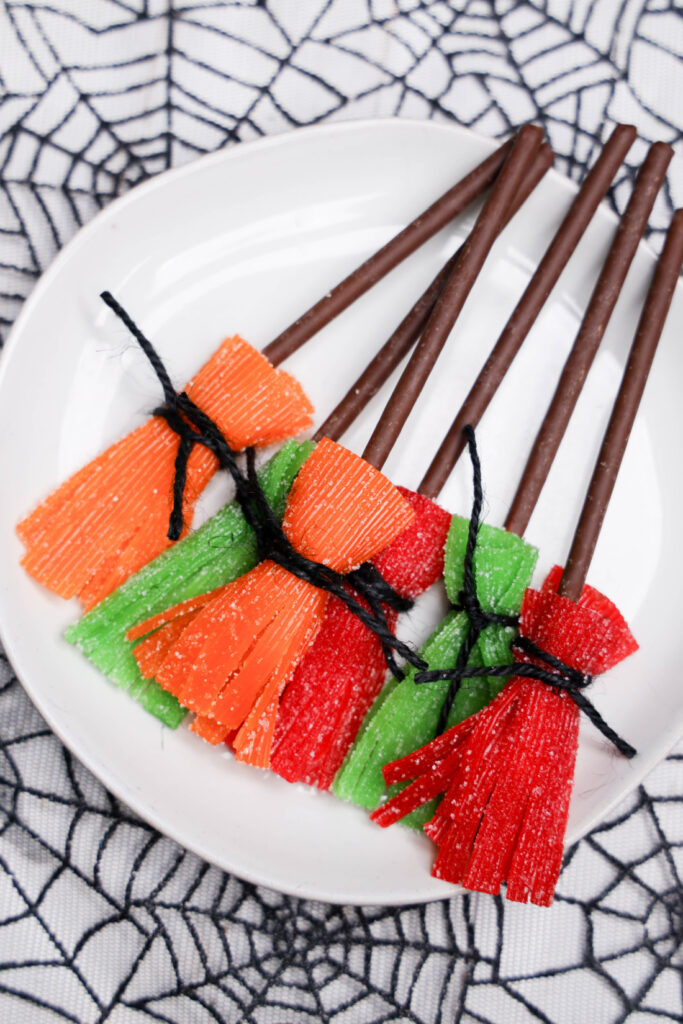
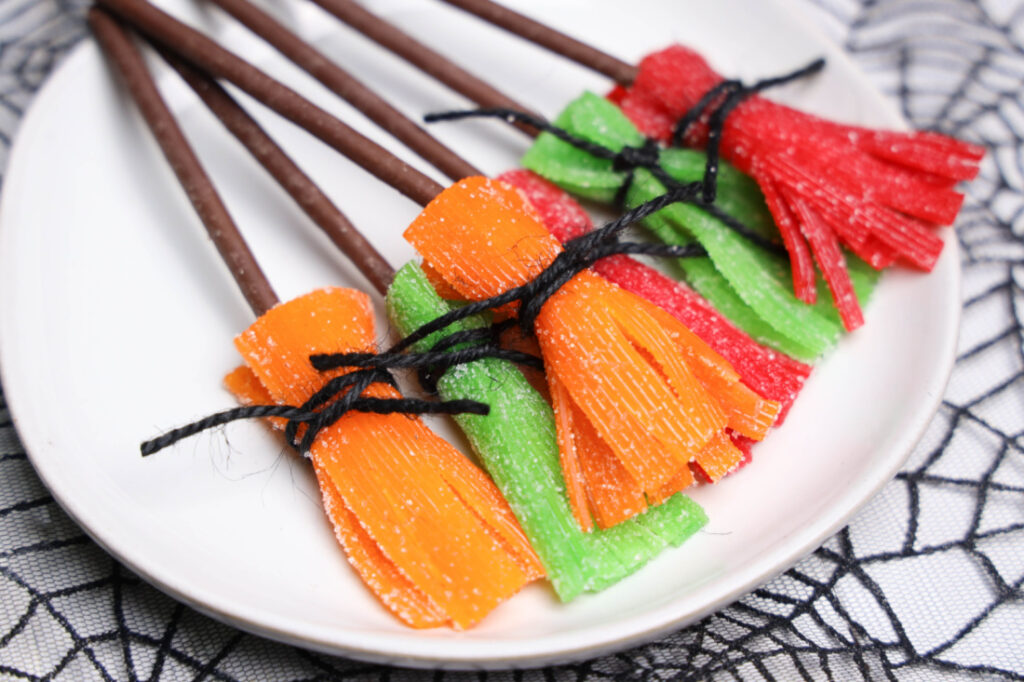
For serving, I’d keep the arrangement simple. A white plate lets those bright candy colors stand out, and a spiderweb cloth underneath gives it that Halloween look without much extra decorating.
Variations, Additions, and Substitutions
Use orange and green strips for a witch themed color combination, or mix in red like the brooms pictured.
Other flat sour candy belts may work, too. Choose flexible ones that are wide enough to fringe without falling apart.
Thin pretzel sticks are another handle option if you’d like a salty bite with the candy. Their length will change the size of your finished brooms.
You could also try thin peelable candy strands as edible ties. Test one broom first because some strands break when knotted.
How to Store Sour Witch’s Brooms
Assemble these close to serving for the best appearance and texture.
If you need to make them ahead, place them in a single layer in an airtight container at cool room temperature. Keep them away from heat and moisture, and avoid stacking anything on the candy bristles.
For more witchy treats, pair these with my Melting Witches Halloween Treats, or add the Haunted Pumpkin Drink to your Halloween spread. The FDA’s Food Safety at Home resources are also useful for general food-handling guidance.
Sour Witch’s Brooms FAQs
Can I make a bigger batch?
Yes. Double the ingredients to 12 candy strips and 12 Pocky sticks for 12 brooms. Give yourself extra time for cutting and tying.
Why are my broom bristles coming apart?
You may be cutting too close to the top. Leave a wider solid section so the candy stays connected when you tie it.
Can children help assemble these?
Children can choose colors and help arrange the plate. Have an adult handle scissors as needed and remove all twine before eating.
A Simple Treat for Halloween Night
Halloween doesn’t need to mean spending hours getting everything ready. Sometimes a plate of candy brooms and a favorite movie are plenty. These Sour Witch’s Brooms bring a little Halloween fun to the table while keeping the prep manageable, and I’m always happy to have an option like that.
Sour Witch’s Brooms
Ingredients
Method
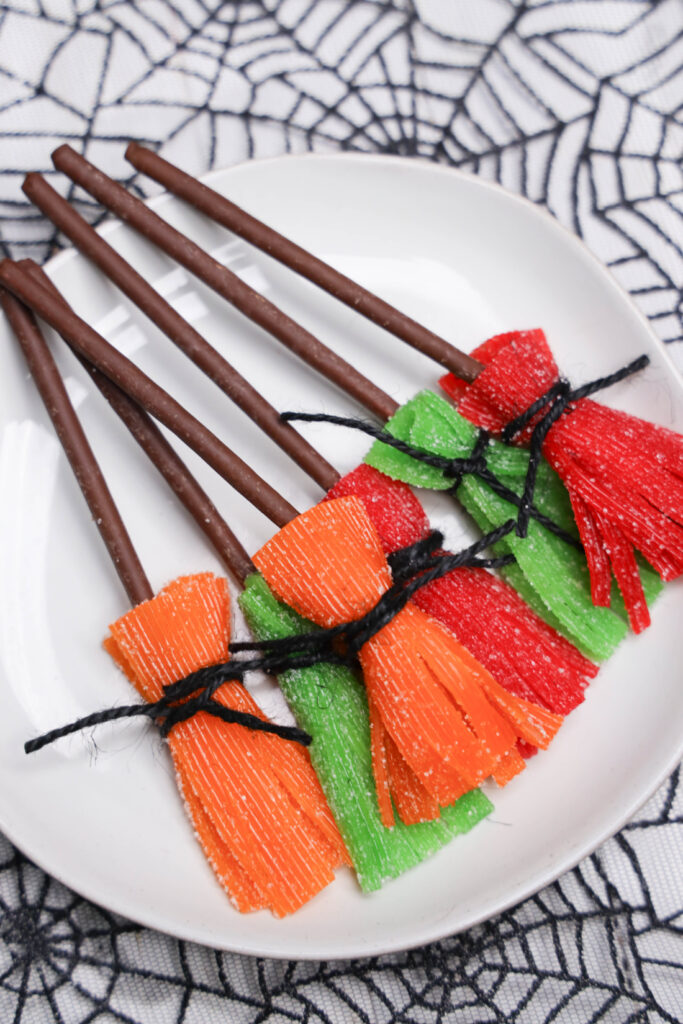
- Fold sour strip in half and cut. Hold together and cut the ends with kitchen scissors to make it look like a broom.
- Place the pocky stick between the two pieces and use twine to tie on to the pocky stick carefully so you don’t break the stick.
- Serve! Be aware that the twine is not edible so will need to be serve to children with supervision.